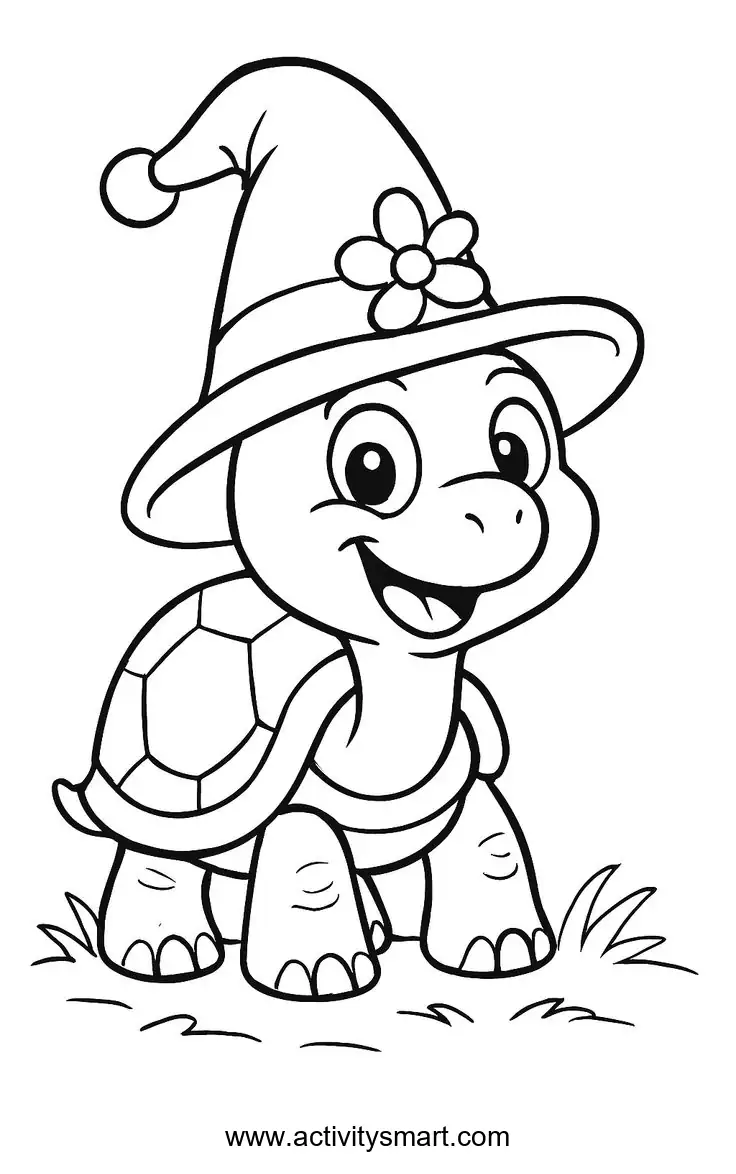
A smiling turtle with a magical flower hat
Download this turtle in a wizard hat coloring page featuring a cheerful turtle, a flower-decorated hat and a patterned shell. Print the original picture and explore five creative activities for the hat, flower and shell.
More Coloring Pages
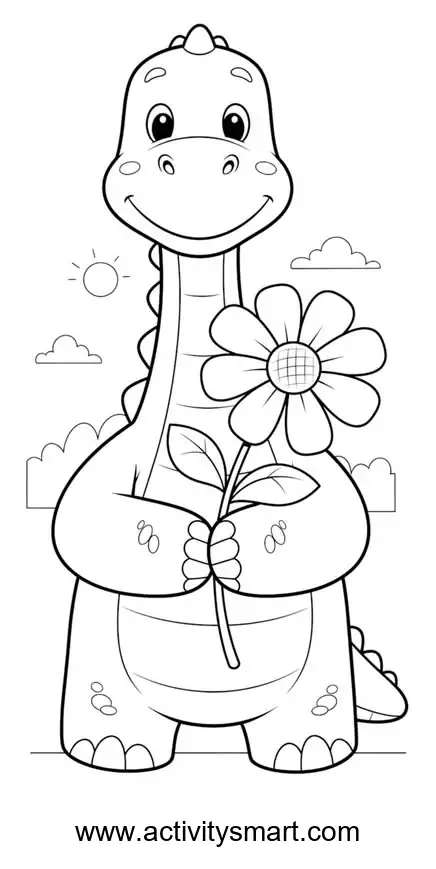
Dinosaur Holding a Flower Coloring Page
A smiling long-necked dinosaur holds a large flower. Open the printable image and try a picture-specific coloring activity.
View printable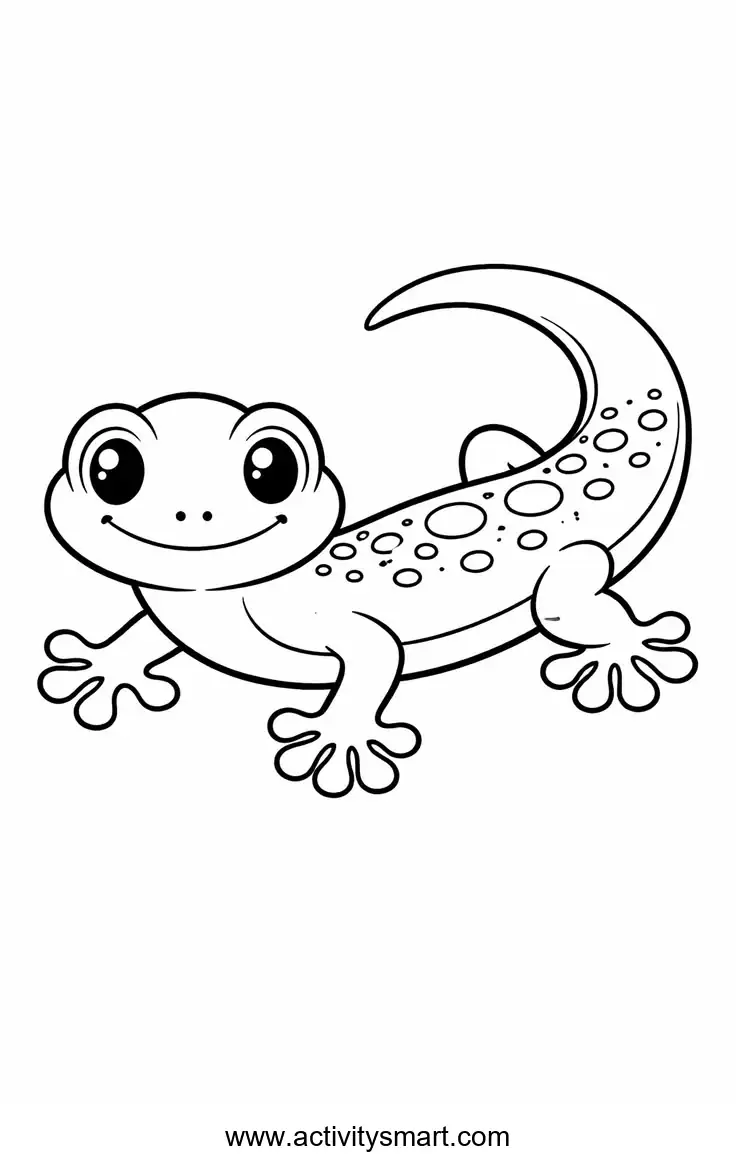
Spotted Gecko Coloring Page
A small spotted gecko has splayed toes and a curved tail. Open the printable image and try a…
View printable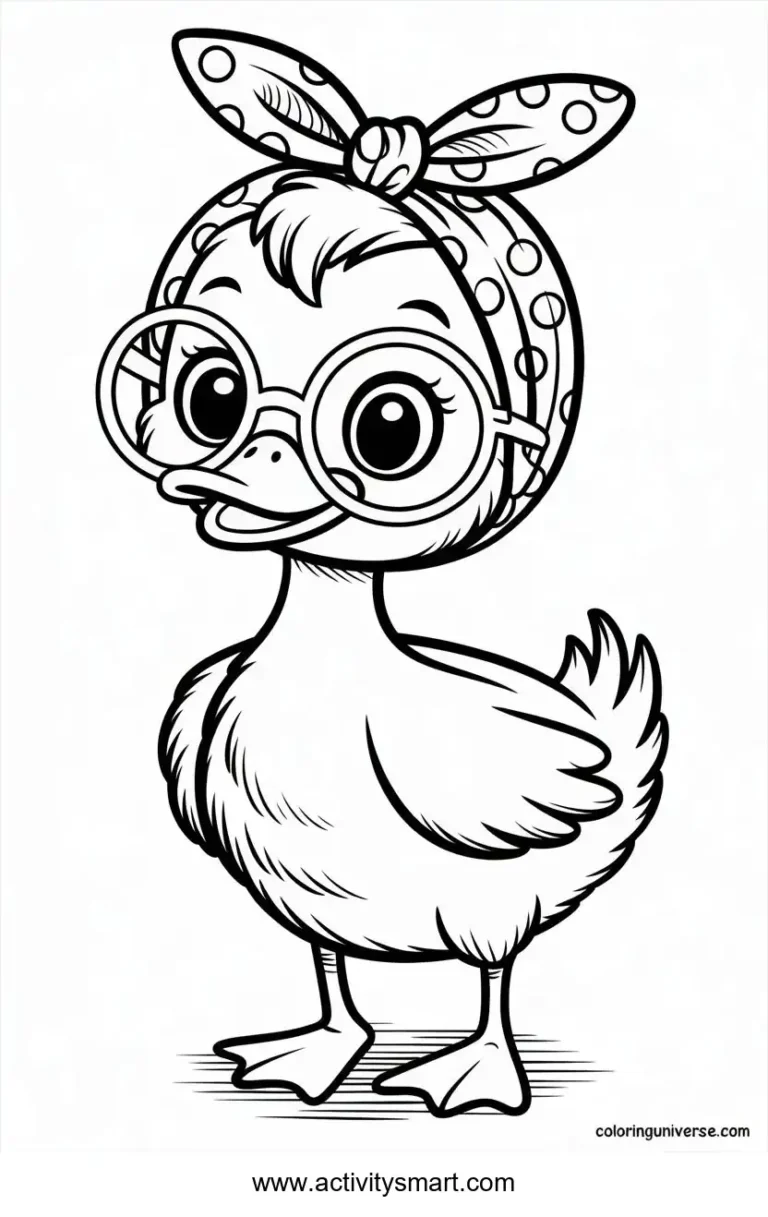
Duck with Glasses and a Head Scarf Coloring Page
A duck wears round glasses and a tied head scarf. Open the printable image and try a picture-specific…
View printable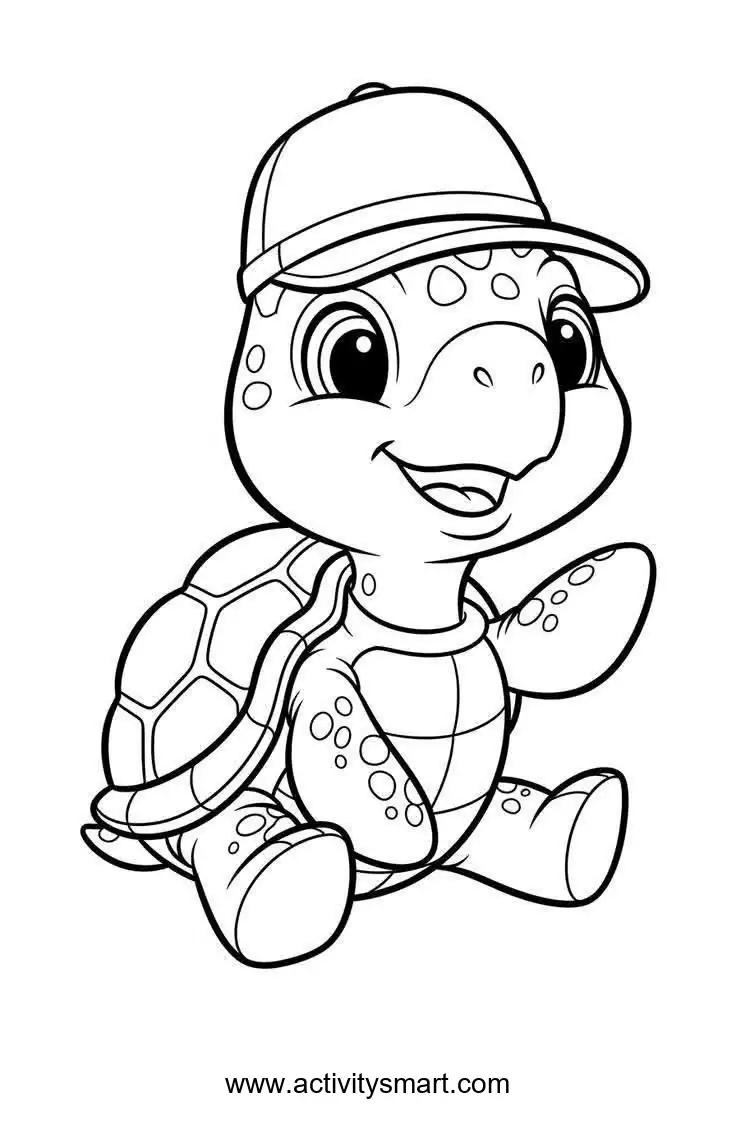
Turtle in a Cap Coloring Page
A smiling turtle wears a baseball cap and raises one front leg. Open the printable image and try…
View printable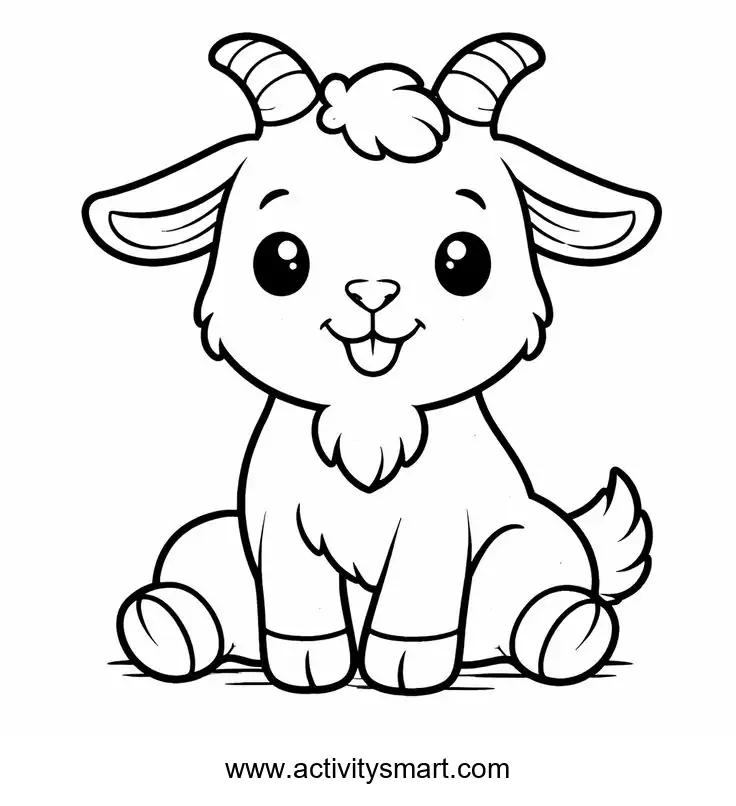
Baby Goat with a Bow Coloring Page
A seated baby goat has small horns, floppy ears and a bow. Open the printable image and try…
View printableTurtle in a Wizard Hat Coloring Page
A smiling turtle wears a pointed hat decorated with a flower. Open the printable image and try a…
View printable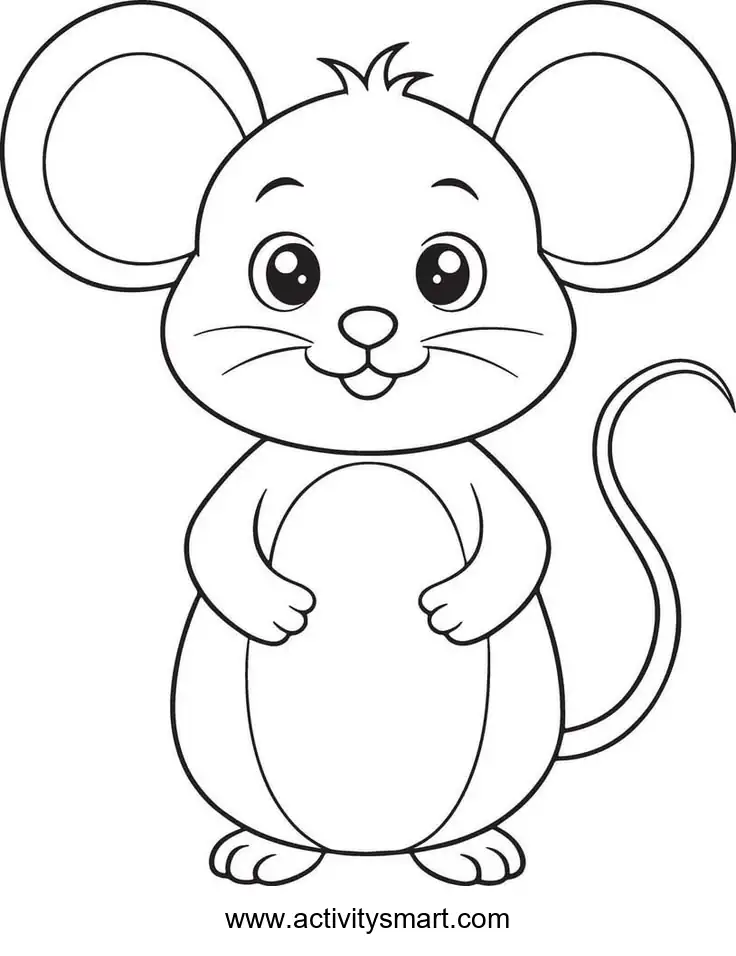
Big-Eared Baby Mouse Coloring Page
A smiling mouse sits with large round ears and a curling tail. Open the printable image and try…
View printable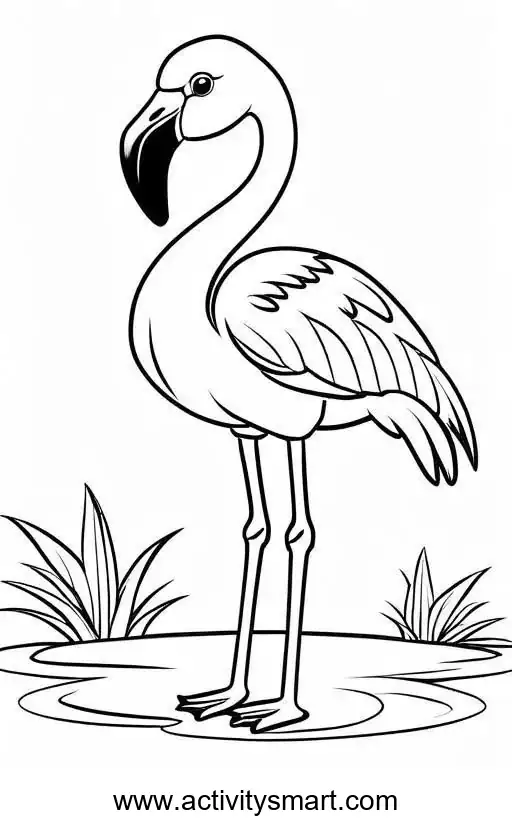
Flamingo beside the Water Coloring Page
A flamingo stands in shallow water beside reeds. Open the printable image and try a picture-specific coloring activity.
View printableWhat is on this turtle in a wizard hat coloring page?
A smiling cartoon turtle stands on a small patch of grass, wearing a large pointed hat. The hat bends at the top and ends in a round pom-pom. A wide brim curves around the turtle’s head, while a flower decorates the band above it.
The turtle has large eyes, a broad smile and outlined toes. Part of its shell appears behind the head and front legs. The shell is divided into several outlined sections, with a broad curved border around its lower edge. Small grass tufts and ground lines frame the feet.
The background is mostly white, and the website name appears beneath the drawing. Before choosing pencils, invite your child to find the hat’s flower, the shell sections and the round pom-pom. They can begin with their favorite detail or color the turtle first and return to the hat later.
Five creative ideas for your wizard turtle
1. Give the hat a magical color
Choose a color for the tall part of the hat. Deep purple, blue or green can make it stand out above a lighter turtle. For a softer picture, try lavender or pale pink instead. Test the pencil on spare paper first and begin with light pressure.
Use a second shade on the band and brim. The round pom-pom can match the band or become a bright accent of its own. Follow the curved edges slowly so the hat’s separate parts remain easy to see. There is no required color for this imaginary costume.
2. Make the flower the brightest detail
Choose one color for the petals and another for the round flower center. Yellow and pink create a cheerful combination, while orange and blue offer a stronger contrast. A colored pencil helps with the smaller spaces where the petals meet the band.
Your child can give every petal the same shade or alternate between two colors. Compare the flower with the round pom-pom: both have curved outlines, but one is divided into petals. Pointing to the differences is enough; there is no need to name every shape.
3. Create a pattern on the turtle’s shell
Choose two or three colors for the visible shell sections. Try light and dark greens for a turtle-inspired palette, or use blue, purple and yellow for a fantasy pattern. Color one section first and compare it with the uncolored sections before deciding how to continue.
Repeat a shade across more than one section or make each area different. The broad curved shell border can receive a separate color. If your child wants to add invented dots inside a section, leave the original dividing lines visible.
4. Explore the face, feet and grass
Use a light body color on the head, neck and legs. A darker shade can highlight the outlined toes. Work gently around the eyes and smile so the dark outlines and white eye highlights remain visible.
Choose a green or another favorite color for the grass tufts beside the feet. Follow their pointed shapes with a pencil, then decide whether to leave the surrounding ground white. Coloring the turtle and a few blades of grass is enough for a complete activity.
5. Invent a story for the little wizard
Ask how the turtle found its flower hat. Perhaps a friend made it, or the turtle chose it for a garden celebration. These are pretend ideas inspired by the drawing; the illustration does not establish a story.
Let your child name the turtle and decide what happens first, next and last. An adult can write a short dictated caption on a separate sheet and display it beside the finished picture. If your child wants to add stars or another decoration, explain that those are new details they are adding to the original scene.
Try a four-color start: choose one shade for the turtle, one for the shell, one for the hat and one for the flower. Add more colors whenever your child is ready.
How to save and print the wizard turtle picture
- Select Download Coloring Image to access the original WebP file. If it opens in your browser, use your browser’s save-image option.
- Select Print Coloring Page to use the site’s image-printing tool. If it is unavailable, open the full-size image and print from your browser.
- Choose portrait orientation and A4 or US Letter paper. Select fit-to-page scaling to preserve the picture’s original proportions.
- Check that the top of the hat, the turtle’s feet, grass and website name are visible in the preview before printing.
The original file measures 736 × 1174 pixels. It is narrower than A4 or US Letter paper, so side margins are expected. Preserve the proportions rather than stretching the picture sideways. Enlarging the image does not add detail and may make the outlines softer.
Crayons can cover the broad hat and body areas, while colored pencils offer more control around the flower, shell lines and toes. Test markers on spare paper and place a protective sheet underneath. Use paper supported by your printer and print one test copy before preparing several sheets.
For another turtle-themed activity, visit the sea turtle and ocean friends coloring page. Compare its underwater scene with this single wizard character, or browse more coloring pages to choose another subject.
Questions about this wizard turtle coloring page
What appears in the wizard turtle picture?
A smiling turtle wears a floppy pointed hat with a flower and round pom-pom. Its patterned shell, outlined feet and small grass tufts are also visible.
What file does Download Coloring Image provide?
It provides the original WebP image measuring 736 × 1174 pixels. This image download is not a PDF.
Why are there side margins when I print the picture?
The original image is narrower than A4 or US Letter paper. Preserve its proportions and accept the side margins rather than stretching or cropping it.
Which colors can I use for the wizard hat?
Choose any colors you enjoy. Try purple or blue for the hat, a contrasting band and a bright flower. The imaginary costume has no required color scheme.
Can my child add decorations to the picture?
Yes. Your child can add invented details such as stars or shell patterns. Keep the website name beneath the original illustration visible.