
Quick Answer
Fine motor skills activities for kids develop everyday hand control through playful tasks such as squeezing dough, building with blocks, tearing paper, using tongs, drawing, and fastening clothes. Choose materials by the child’s current ability rather than age alone, begin with easy movements, and gradually add precision. Short, enjoyable practice is more useful than forcing perfect handwriting.
Quick Picks
- Ages 3–4: dough pinching, large-block construction, paper tearing, and supervised pouring.
- Ages 4–5: clothespins, simple cutting, threading large safe pieces, and drawing paths.
- Ages 5–7: folding, fastening, construction challenges, and purposeful drawing or writing.
- Ages 8–10: crafts, models, sewing with age-appropriate tools, and detailed practical projects.
- Any age: stop for pain, adapt materials, and supervise tools or small parts.
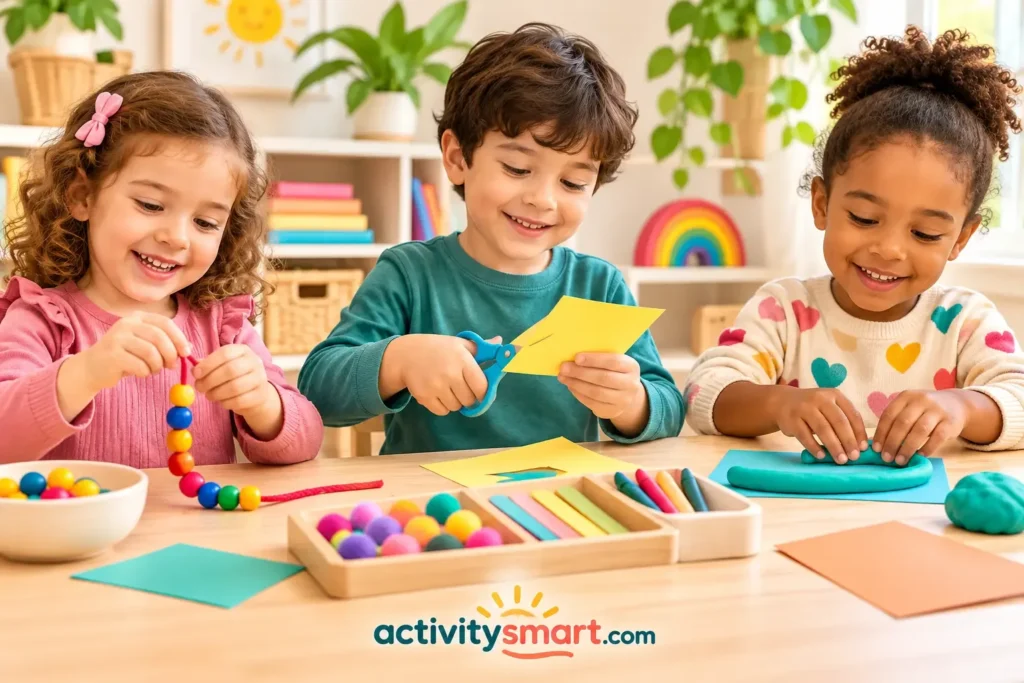
The best fine motor skills activities for kids are not necessarily worksheets. A child who rolls pretend pizza dough, stabilizes paper while cutting, or opens a lunch container is practicing useful hand movements with a clear purpose. Parents and teachers can build these opportunities into play, chores, and classroom centers without buying a specialist kit.
This age-by-age guide explains what hand control involves, how to select a sensible starting point, and how to notice progress without turning play into a test. For another collection of options, explore hands-on fine motor activity ideas.
What fine motor skills actually involve
Fine motor control means coordinating the small movements of hands and fingers with visual information, posture, attention, and feedback from touch. It supports dressing, eating with utensils, manipulating toys, drawing, and later school tasks. A task can look simple yet require several skills working together: opening a container involves grip, finger strength, stabilizing with the other hand, and planning the movement.
Grip, finger isolation, and hand strength
Gripping a chunky crayon differs from pinching a tiny paper tab. Children need opportunities to use the whole hand and individual fingers, but harder is not automatically better. Begin with large, easy-to-hold objects and change size or resistance only when the child can succeed comfortably. Dough, sponges, and building pieces offer varied resistance without repetitive drills.
Bilateral coordination and visual guidance
Many meaningful tasks require two hands with different jobs. One hand holds a jar while the other twists its lid; one steadies paper while the other draws. Eye–hand coordination helps a child guide a bead toward a lace or align two blocks. Watch how the hands cooperate rather than insisting on a particular dominant hand during every activity.
Why play comes before polished handwriting
Writing requires much more than finger strength: a comfortable seated position, visual attention, familiarity with shapes and letters, and motivation all matter. A child may enjoy making marks before forming recognizable letters. Drawing roads, painting, and building can provide valuable experiences without treating every mark as an assessment. The American Academy of Pediatrics preschool hand and finger guidance recommends a broad variety of materials and activities instead of pushing a narrow talent too early.
Fine motor skills activities for kids by age: a practical comparison
The age bands below are planning guides, not pass–fail cutoffs. Some children will prefer activities from an adjacent band; disability, prior experience, sensory preferences, and access to materials can change the best choice. Use the task that invites participation and adjust one feature at a time.
| Approximate age | Good starting activities | Ways to increase challenge | Adult support |
|---|---|---|---|
| 3–4 | Dough, large blocks, tearing paper, pouring | Make smaller shapes or simple patterns | Model steps and watch loose parts |
| 4–5 | Clothespins, safe scissors, tracing paths, large threading | Curved lines and two-step designs | Supervise scissors and fit materials to hands |
| 5–7 | Folding, fasteners, mosaics with large pieces, drawing | Plan multi-part projects | Offer choice and breaks |
| 8–10 | Model making, weaving, crafts, practical repairs | More precise measuring and assembly | Teach tool safety before independence |
For developmental context, the CDC lists stringing items and using a fork among common skills by age three, unbuttoning some buttons and holding a crayon between fingers and thumb by age four, and buttoning some buttons by age five. These are population milestones, not a prescription for teaching every child in exactly the same order; see CDC milestones at age three, CDC milestones at age four, and CDC milestones at age five.
Ages 3–4: explore squeezing, grasping, and releasing
Make a dough bakery
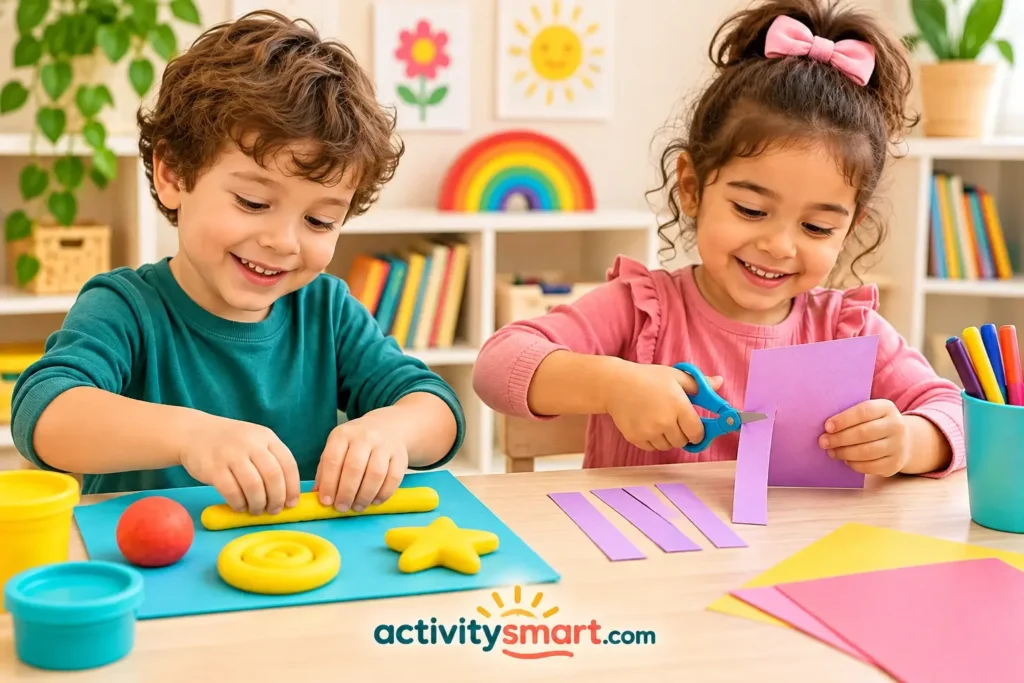
Offer a palm-sized piece of homemade or commercial modeling dough on a washable surface. Invite the child to squash a pancake, roll a long snake, pinch pretend toppings, and press large shapes into it. Show one action, then let the child invent a menu. The goal is varied movements, not matching a model. If the dough is too firm, soften it or provide a smaller portion that is easier to manipulate.
Try a playful change: ask for three big rolls and one tiny roll, or invite the child to flatten a dough ball with both palms. This combines whole-hand pressure with finger control and language. Supervise closely; dough is not food, and small detached pieces may be unsafe for children who mouth objects.
Build, knock down, and rebuild
Large interlocking bricks, chunky blocks, and simple stacking cups invite grasping, positioning, releasing, and stabilizing. Begin with a short tower the child can finish. Next, build a bridge between two supports or copy a simple color pattern. If a brick requires excessive force to connect, choose a looser-fitting set rather than turning the game into a struggle.
Tear and paste a paper garden
Prepare broad strips of lightweight paper and a glue stick. Demonstrate holding the strip with both hands and pulling in opposite directions to tear pieces. Children can paste the pieces into flowers, rain, or a pretend garden. Start with short tears from an adult-made notch if the movement is difficult. Larger pieces are easier to control and clean up.
Ages 4–5: add tools, controlled lines, and two-hand jobs
Clothespin delivery game
Set a shallow basket beside a cardboard “delivery station.” Children move large fabric squares using easy-squeeze clothespins, or clip the pins directly around a sturdy box. Use a few pieces first; make the game longer only if interest remains. If the spring is too stiff, swap to wider clips or have the child place pieces by hand before trying the tool.
Do not use tiny clips with a child who still mouths objects, and check for pinching hazards. Count deliveries or sort by color if that adds fun, but the main challenge is opening and releasing the clip deliberately. Notice whether the child can rest between repetitions rather than racing for speed.
Snip paper roads with safety scissors
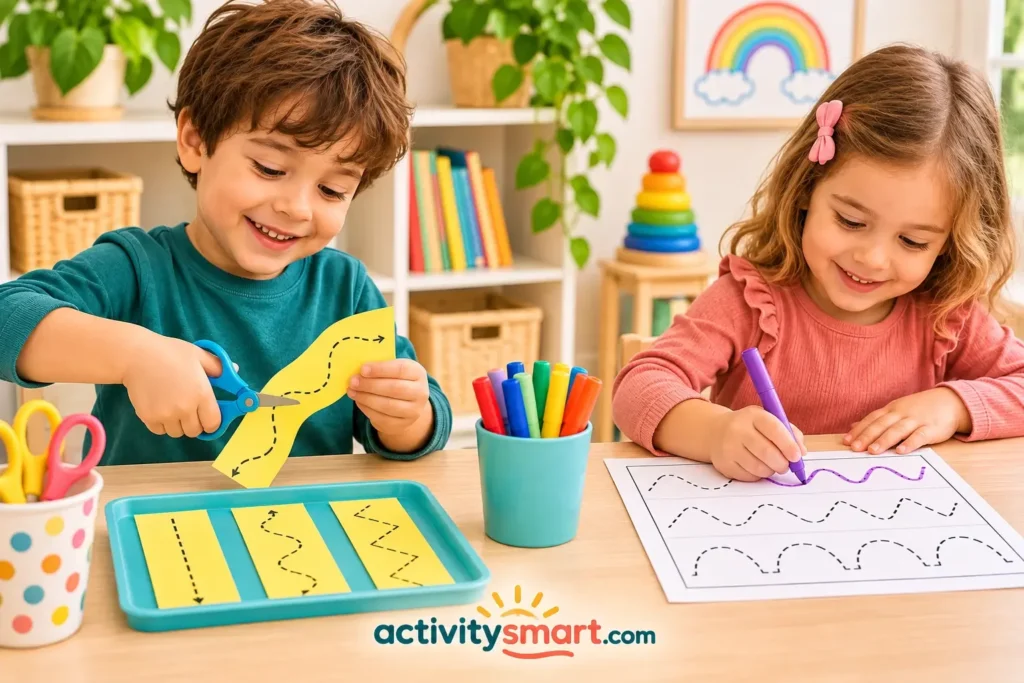
Start with short, stiff strips that require just one snip. Show the child how to keep the thumb in the smaller loop if the scissors fit that way, point blades away from people, and keep the supporting hand clear of the cutting path. Progress from single snips to broad straight roads, then gentle curves. Adult supervision is essential even with child scissors.
If scissors feel awkward, return to tearing paper or cutting play dough with a blunt child-safe tool. See preschool scissor practice for a fuller progression. Left-handed children may benefit from scissors designed for their hand, and any child may need a better-sized tool rather than more correction.
Trace a treasure route
Draw two wide parallel lines across a sheet to make a path for a pretend car or animal. The child draws a line between them, beginning with a short straight route and eventually following bends. Use a chunky crayon, marker, or finger on a reusable surface. Invite the child to design the next route once the first feels easy.
A printable can be useful when it serves the game, not when it becomes a page-count target. The site’s printable line-tracing practice offers an optional starting point. If the child grips tightly, presses so hard the paper tears, or becomes upset, widen the path or switch to drawing in sand with a finger.
Ages 5–7: connect hand control with everyday independence
Run a pretend dressing shop
Collect a jacket with a large zipper, a fabric panel with easy buttons, and a bag with a simple buckle. Let the child choose an item to “prepare for a customer.” Demonstrate the beginning of a zipper connection or one button slowly, then allow a trial. Practice on a garment lying on the table before expecting the same movement while wearing it.
Fasteners combine precise finger movements, sequencing, and patience. A child may manage a large button but struggle with a small stiff one; that is a reason to adjust the material, not to label the child unmotivated. Real dressing routines can offer practice without adding a separate homework assignment.
Fold, decorate, and deliver a note
Give the child a square sheet to fold in half, press along the crease, draw a picture, and place inside a large envelope. Fold the first corner together if necessary, then invite the child to complete the next. The meaningful goal is delivering a message to someone, which makes careful alignment worthwhile without demanding perfect edges.
For children interested in letters, pair this activity with helping children write their names. Writing a name is optional: a stamp, mark, or dictated message is equally valid participation. When handwriting is introduced, attend to comfort and legibility rather than enforcing one rigid grip pattern.
Make a classroom materials helper station
Children can match lids to large containers, open and close pencil cases, stack notebooks, and sort markers into trays. Present a small, clear job with a visible endpoint. Two children can share roles: one steadies a container while the other closes it. Rotate jobs so the same child is not always assigned the most difficult task.
Ages 8–10: precision, planning, and purposeful making
Design a cardboard model
Invite the child to plan a miniature shop, bridge, or room from cardboard boxes and large paper pieces. They can measure rough lengths, fold tabs, draw openings, and join sections with tape. Begin with a simple one-room structure; add shelves or signs only after the basic form stands. Offer a sketch as an option, not a requirement.
An adult should manage sharp craft knives, hot glue guns, and other hazardous tools. Children can often do substantial planning and assembly with safe scissors and tape. The learning opportunity includes revising a plan when a wall does not fit, rather than achieving professional-looking construction.
Weave a paper mat or make a simple stitch
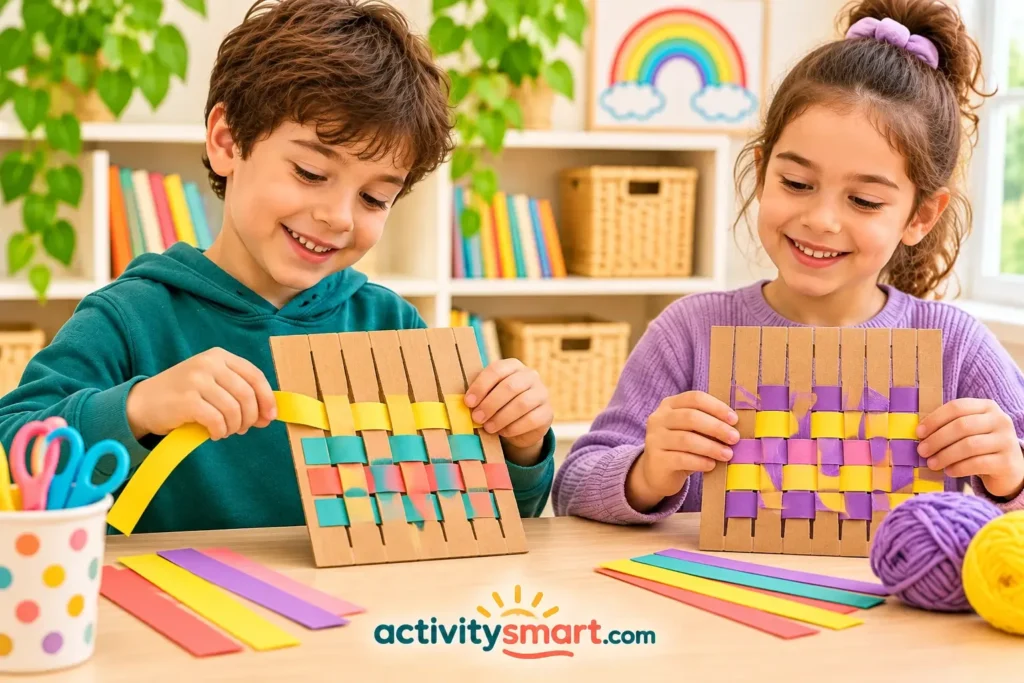
For paper weaving, provide a pre-cut card with wide slots and broad colored strips. Demonstrate the over-under pattern and let the child work a few rows. More experienced children can design their own color sequence. For stitching, use a large blunt plastic needle and pre-punched card with suitable yarn, under supervision and only when the materials are safe for that child.
A child who finds threading frustrating can use wider holes or stiffer strips. One useful adaptation is to stabilize the card on a nonslip mat so attention can go to guiding the working hand. Avoid tiny beads or sharp needles simply because the child is older; readiness and supervision still matter.
Turn a real interest into a hand-skills project
A child who enjoys stories might build a comic booklet; a nature enthusiast might press leaves under paper and make labeled rubbings; a budding engineer might assemble a large-piece model. The activity should have a reason the child cares about. Let the child decide whether to repeat a successful technique or learn a new one.
Choose the right challenge instead of following an age label
A practical activity sits between “already automatic” and “so hard it stops being fun.” Watch the first minute. Can the child begin after a demonstration? Can they complete at least part of the task without constant rescue? Are they interested enough to try again? These observations help choose materials, but they are not diagnostic assessments.
Make one adjustment at a time
- Change size: move from small beads to large, safely sized rings or blocks.
- Change resistance: choose softer dough, easier clips, or looser lids.
- Change precision: draw a wider route or use larger targets.
- Change support: stabilize paper with tape, offer a nonslip mat, or model the first movement.
- Change duration: finish after a satisfying few minutes rather than demanding a fixed number of repetitions.
When an activity becomes comfortable, reverse one adjustment. Narrow the path slightly, ask for a new pattern, or encourage the child to plan the next step. Do not simultaneously make objects smaller, time shorter, and directions more complex; then it becomes difficult to tell which demand caused trouble.
A simple observation routine for parents and teachers
Choose one familiar task, such as opening a pencil case, and note what the child can do independently, what help is useful, and whether the task causes discomfort. Revisit it during ordinary life after opportunities to practice. Look for changes in independence and confidence, not a stopwatch score or a comparison with classmates.
A flexible 15-minute play session
This sample session is a convenience, not a prescribed therapy schedule. Begin with two minutes of choosing materials and demonstrating one movement. Spend roughly five minutes on an easy familiar activity, five on a slightly new challenge, and the remaining time on free creation or cleanup. Stop earlier if the child is tired or no longer engaged.
For a preschool group, stations might include dough, large construction pieces, and paper collage. For an older child, combine a practical fastener task with a cardboard design. Keep transitions predictable, provide enough materials to reduce waiting, and allow children to opt for an equivalent activity when textures or tools are uncomfortable.
Short opportunities across the week can fit naturally into routines: sorting laundry, opening lunch boxes, folding napkins, or drawing a birthday card. There is no evidence-based universal number of daily minutes that guarantees a particular fine motor outcome, so avoid turning this flexible plan into a rigid target.
Safety, accessibility, and when to seek advice
Match materials to the individual child
Small beads, coins, loose buttons, magnets, batteries, and similar pieces can present choking or ingestion hazards, especially for children who mouth objects. Use large alternatives and direct adult supervision where appropriate; keep hazardous items out of reach. Never use strong magnets or button batteries as activity manipulatives. Check for allergies and supervise any dough or sensory materials.
Scissors, needles, punches, and adhesives need tool-specific safety rules. Adults should handle sharp blades and hot equipment. Children should work seated at a stable surface with enough room to move both hands. Stop if an activity causes pain, numbness, skin irritation, or marked fatigue; forcing through discomfort is not a useful exercise.
Support different sensory and motor needs
Some children avoid sticky textures, loud craft spaces, or small objects. Offer a dry material, gloves when suitable, larger grips, fewer distractions, or a different way to complete the same project. A child with limited use of one hand may benefit from a nonslip surface, a clamp used safely by an adult, or adaptive tools. The aim is meaningful participation, not identical movements from every child.
For more pencil-related adaptations, consult pencil grip guidance. Children who prefer coloring may enjoy butterfly coloring activity as a low-pressure drawing invitation. Choose a larger print area and allow breaks rather than treating staying within outlines as a developmental requirement.
Know when everyday play is not enough
Talk with a pediatrician or other qualified professional if a child loses a previously acquired skill, has persistent pain, or consistently struggles with everyday tasks such as feeding, dressing, or classroom tools. The CDC advises acting early when milestones are missing or a caregiver has concerns, and notes that milestone lists do not replace standardized screening. An occupational therapist may assess functional challenges when a clinician considers referral appropriate.
One missed activity or an unusual pencil hold alone does not establish a disorder. Bring specific examples of the tasks that are difficult, the adaptations tried, and whether the problem occurs across settings. This makes a professional conversation more useful than presenting an internet checklist as a diagnosis.
Common mistakes that make practice less useful
- Starting with tiny objects: smaller is not always more educational. Begin with pieces the child can manipulate safely and reliably.
- Correcting every grip: constant interruption can spoil a drawing task. Focus first on comfort, function, and participation; seek advice if there is pain or substantial difficulty.
- Using worksheets as the only method: include building, fastening, tearing, and other three-dimensional tasks.
- Rushing a child: speed adds pressure and can conceal how much support the task requires.
- Confusing repetition with progress: vary the task and watch whether the child becomes more independent in meaningful routines.
- Ignoring choice: let a child select a theme, tool, or finished product when possible.
For example, if a child refuses to trace another line, offer a road-drawing game, paper weaving, or a real letter to a friend. The underlying need may be practice with controlled movement, not completion of a particular sheet. If the child enjoys numbers, hands-on one-to-one counting can provide a separate hands-on learning context without turning every fine motor task into arithmetic.
Final recommendation: start with a useful task and make it enjoyable
The most practical approach is to select one age-appropriate, safe activity that a child wants to do, then adapt its size, resistance, or complexity. For younger children, start with dough, paper, and blocks; for older children, move toward crafts, fasteners, and projects with a purpose. Keep the focus on comfortable participation, not perfect products.
Build variety into the week and notice how skills transfer to ordinary routines. For children ready to explore letter shapes, printable alphabet activities offers an optional extension, but it is not a prerequisite for healthy hand development. When persistent functional difficulties or loss of skills appear, seek individualized professional guidance instead of intensifying drills.
Frequently asked questions
What are the best fine motor activities for a three-year-old?
Dough squeezing, large-block building, tearing paper, and supervised pouring are practical starting activities for many three-year-olds. Use large safe materials and follow the child’s interests rather than requiring precise results.
How often should children practice fine motor skills?
Children can practice fine motor skills through ordinary play and daily routines throughout the week. There is no single proven number of minutes that suits every child; choose comfortable, engaging opportunities and stop when fatigue or frustration rises.
Do fine motor activities help with handwriting?
Fine motor activities can provide opportunities to practice movements used in handwriting, but they do not guarantee better handwriting by themselves. Letter knowledge, posture, visual guidance, instruction, and individual needs also matter.
What can I use instead of small beads?
Use large blocks, chunky rings, wide paper strips, or other securely sized materials instead of small beads. Match the choice to the child’s mouthing behavior and developmental abilities, and supervise as needed.
When can children begin using scissors?
Children can begin supervised scissor exploration when they can handle an appropriately sized child-safe tool and follow basic safety directions. Start with simple snips, adapt to their hand preference, and do not use age alone as a readiness test.
Is an unusual pencil grip always a problem?
No, an unusual pencil grip is not automatically a problem if the child writes or draws comfortably and functionally. Persistent pain, fatigue, or difficulty completing everyday tasks deserves discussion with a qualified professional.
How can teachers adapt activities for mixed-age groups?
Teachers can offer one shared theme with different material sizes and task demands. For example, some children tear large paper pieces while others cut simple shapes or fold a paper design, with supervision matched to each tool.
What if a child dislikes play dough or messy crafts?
Offer dry alternatives such as blocks, paper folding, clips, or drawing if a child dislikes messy textures. Respect sensory preferences and adjust the material without forcing contact with an unpleasant substance.
When should I ask for help with fine motor development?
Ask a pediatrician or qualified professional when a child loses skills, experiences pain, or has persistent difficulty with daily hand tasks. Share concrete examples and ask whether developmental screening or an occupational therapy evaluation is appropriate.
Sources and further reading
The age-related examples and general activity recommendations above draw on the CDC developmental milestones for ages three, four, and five and the American Academy of Pediatrics guidance on preschool hand and finger skills, linked in the relevant sections. These sources do not guarantee that any single craft will improve a measured skill.