Useful fine motor skills activities for kids give children a reason to squeeze, pinch, turn, draw, cut, and coordinate both hands. Start with an enjoyable task your child can nearly manage, demonstrate one small step, and make it easier or harder as needed. A few relaxed minutes of purposeful play can fit into home life or a classroom without turning the day into handwriting practice.
This guide is for parents and teachers supporting children approximately ages 3–10. The age bands below organize activity ideas; they are not tests, treatment plans, or deadlines. An eight-year-old can enjoy dough, and a preschooler may love intricate building. Choose by the child’s current access, interests, and comfort as well as age.
What are fine motor skills, and why practice them?
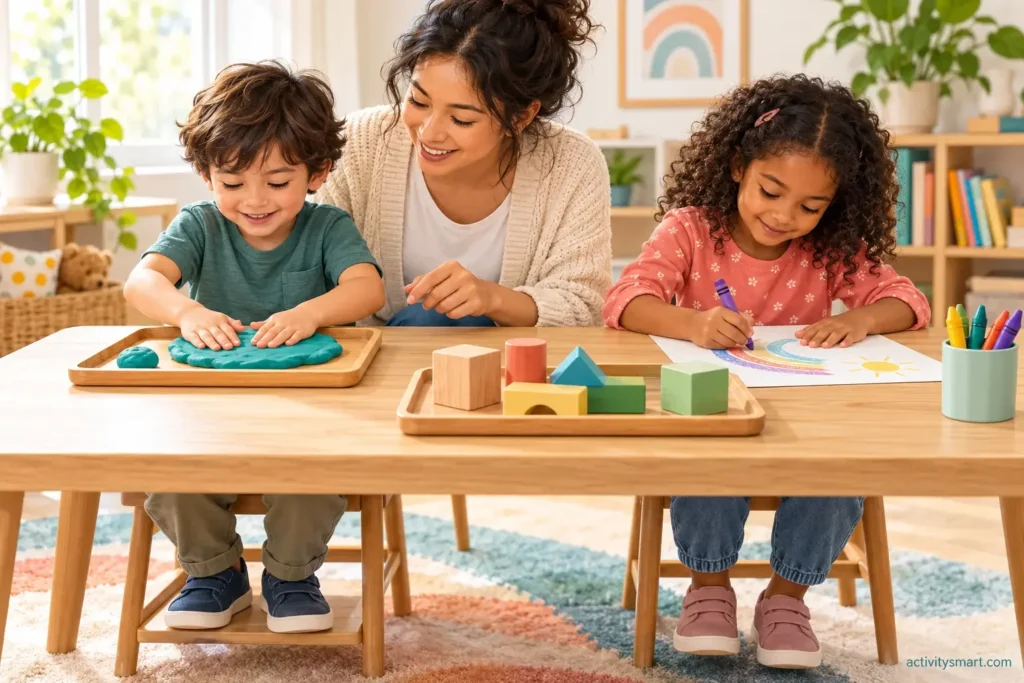
Fine motor skills involve controlled small movements, including movements of the hands and fingers. They help children handle clothing, tools, art materials, and everyday objects. In its family guide to fine motor skills, NAEYC connects hand control with daily independence and recommends varied opportunities for practice. The activities here are practical educational suggestions built around that principle, rather than a program proven to produce a particular outcome.
Look beyond whether a child can hold a pencil. Can one hand keep a container steady while the other turns its lid? Can the child place a puzzle piece without pushing the whole puzzle away? Can they release a block gently enough to leave a tower standing? These everyday observations help you choose a manageable next task.
- Controlled force: pressing glue without flooding the page or squeezing a sponge over a bowl.
- Finger precision: lifting an edge of tape or placing a sticker.
- Two-hand teamwork: holding fabric while fastening it or turning paper during cutting.
- Eye-hand coordination: guiding a tool toward a visible target.
These demands often overlap. A child struggling with a craft might understand the idea perfectly but find the tool, seating, or number of steps difficult. Change the setup before assuming the child needs more effort or more repetitions.
Set up a comfortable, safe activity space
Use a stable surface with room for forearms and materials. Offer a seat and foot support that allow comfortable positioning without balancing on the chair edge. Standing at a suitable table is another option. Put supplies within reach and leave a clear working area rather than spreading an entire craft collection across the table.
A simple kit can include paper, crayons, washable markers, modeling dough, a sponge, two bowls, blocks, a glue stick, and age-appropriate scissors. Add large construction pieces or a puzzle if available. Check age labels, allergies, and the condition of materials. Supervise tools and keep small loose parts away from children who mouth objects and from younger siblings. Avoid loose magnets, water beads, and sharp household tools.
Demonstrate alongside the child, slowly enough to see the action. Say, “This hand holds the bowl; this hand stirs.” Then let the child try. Ask before offering physical help, and favor pointing, stabilizing the equipment, or showing the movement again. Move water activities to a shallow tray, wipe spills, and empty containers afterward.
Choose an activity by starting point, not a deadline
| Approximate age | Try first | Make it easier | Add challenge |
|---|---|---|---|
| 3–4 | Dough shapes and paper tearing | Soft dough and a started tear | Pinch decorations or follow a broad tearing path |
| 4–5 | Paper snipping and large-piece lacing | Short strips and stiff lace ends | Turn paper or lace through a simple sequence |
| 5–7 | Folded cards and construction tasks | Marked folds and larger pieces | Combine folding, joining, and a short message |
| 7–10 | Paper models and useful fasteners | Fewer steps and a visible model | Plan a design and revise a connection |
Try the easiest version briefly. If the child succeeds comfortably and wants more, change one feature: the size of the target, the resistance, or the number of steps. Do not make everything smaller and faster at once. If frustration rises, restore the previous version and finish with a meaningful success.
Ages 3–4: explore squeezing, tearing, and placing
Make a dough picnic
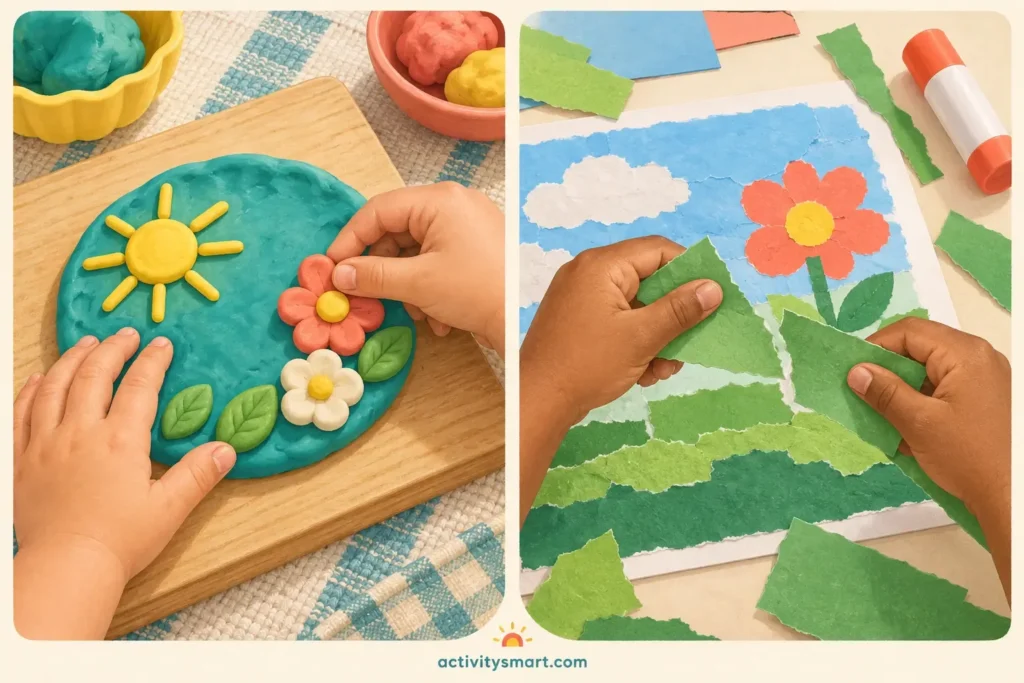
Provide soft modeling dough, a mat, and a blunt dough tool. Invite the child to make pretend picnic food: flatten a pancake, roll a sausage, and pinch a row of pretend peas. Show one action, then let the child choose what to make. The story supplies a purpose without requiring the result to resemble an adult model.
For an easier version, offer a large piece to pat with the whole hand. For more challenge, ask the child to pinch decorations onto a larger shape or join two pieces gently. If the dough is difficult to move, soften or replace it rather than asking the child to squeeze harder. Keep it out of mouths and wash hands afterward.
Tear and glue a paper garden
Use scrap paper, a base sheet, and a glue stick. Start a small tear at the paper’s edge and show how each hand pulls in a different direction. The child can tear grass, paths, or clouds and attach them wherever they choose. A few large pieces are enough for a complete picture.
Make this easier with thin paper and partly torn strips. Add challenge by tearing along a broad drawn path or making smaller shapes for a specific part of the garden. Avoid correcting every uneven edge. The useful action is coordinating the hands while deciding where the paper will go, not producing a tidy display.
Move sponge water between bowls
Place two shallow bowls in a tray, one with a little water. Show the child how to soak a clean sponge, lift it over the second bowl, and squeeze. Invite them to help move the water. Use a larger soft sponge for whole-hand squeezing, or cut a manageable piece for more precise handling.
Keep the challenge about controlling the transfer, not racing. An adult can hold the receiving bowl initially. Later, the child can stabilize it with one hand while squeezing with the other. This is also a useful cleanup job, so the activity has a natural endpoint when the tray is wiped.
Ages 4–5: coordinate tools and a helping hand
The AAP’s preschool hand and finger skills overview describes opportunities such as drawing, construction, and supervised cutting. Use that range as permission to offer different materials, rather than using one activity as a readiness test. A child who dislikes drawing may participate willingly in a construction project with similar demands on careful placement.
Snip paper for a collage
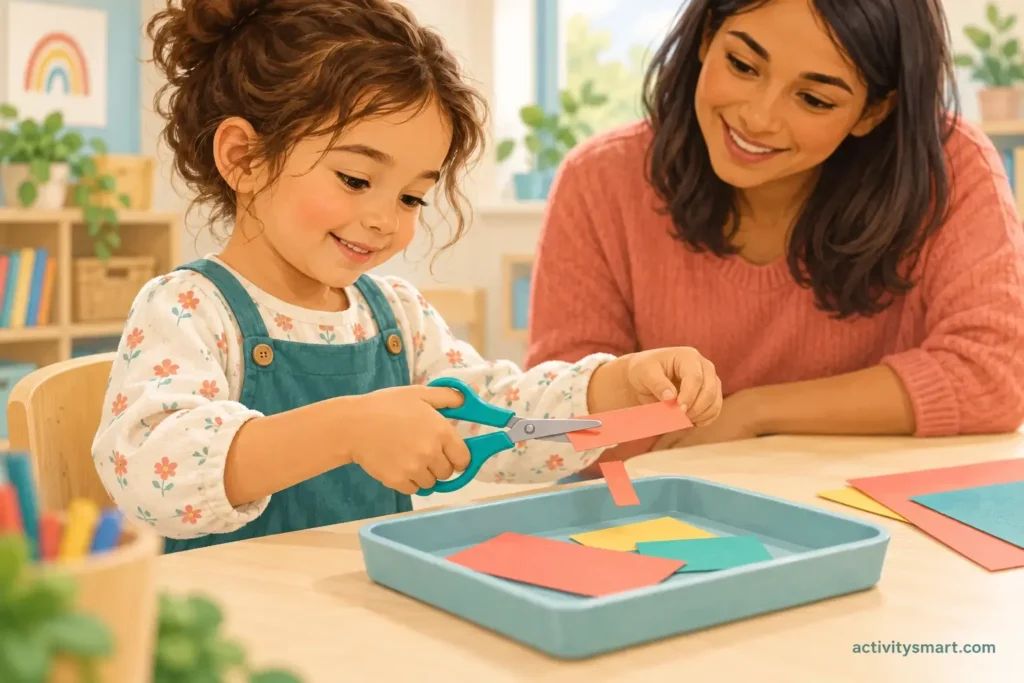
Provide child scissors suited to the child’s hand use and narrow paper strips. Check the tool opens and closes comfortably before starting. Model seated cutting with blades pointing away from bodies and fingers clear of the cutting path. Offer direct supervision; child scissors still require safe handling.
Start with single snips that release a piece. Invite the child to glue the pieces into a road or mosaic. Easier options include holding the strip steady for the child or using lighter paper. Increase challenge with several snips along a broad straight route, then a gentle curve. Show how the helping hand turns the paper instead of twisting the cutting wrist awkwardly.
Lace a large cardboard shape
An adult can prepare a sturdy card shape with widely spaced holes. Use a short lace with a firm end and supervise throughout; do not make loops for wearing around the neck. Demonstrate pushing the tip through, changing hands if needed, and pulling the rest through gently.
Begin with a few holes and a simple in-and-out route. Make the task easier by enlarging the holes or stabilizing the card. Add challenge by following an alternating pattern or choosing where the lace goes next. If finding the back hole is frustrating, turn the card together and show its location instead of repeatedly giving verbal directions.
Open a pretend packing station
Offer clean, easy-opening containers, large blocks, and a small bag. The child packs pretend picnic items, closes containers, and unpacks them. Choose lids that open without excessive force. An adult can loosen a screw lid first; later, the child holds the container steady and completes the turn independently.
This station reveals useful two-hand actions without a formal exercise sheet. Ask, “What could keep the box still?” rather than immediately taking over. Change one container at a time so the child is learning a new fastening action, not struggling with a whole unfamiliar collection.
Ages 5–7: connect hand control with making and writing
Create a folded greeting card
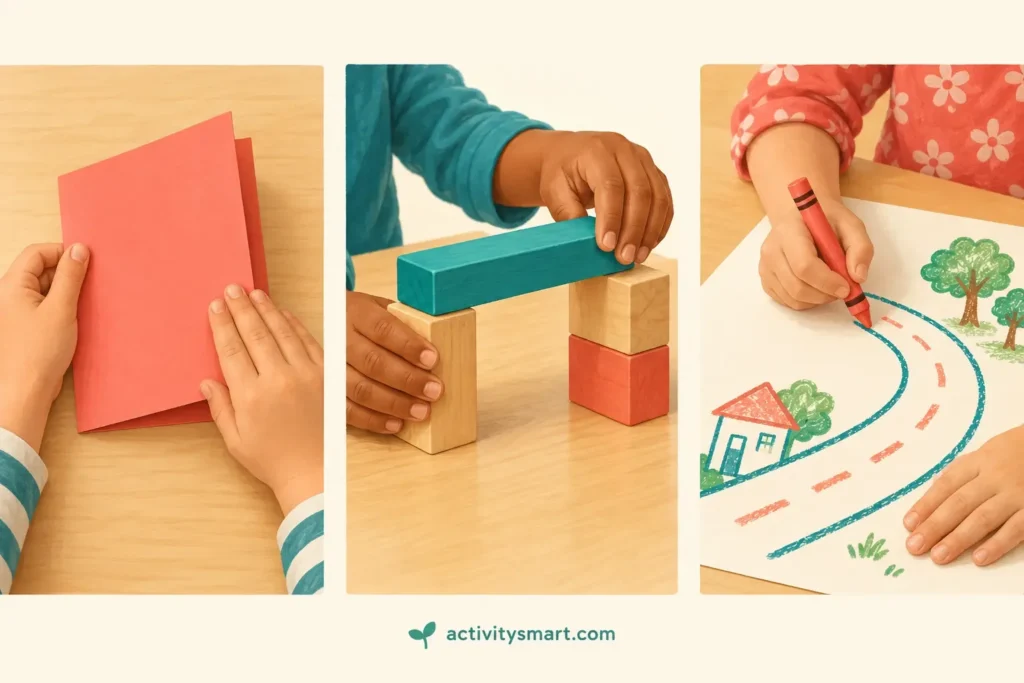
Supply plain paper, a crayon, stickers if suitable, and a glue stick. Show how to bring two edges together, hold them, and press a crease. The child can decorate the front and add a drawing or short message inside. A real recipient gives the task a reason beyond completing a page.
Make it easier with a lightly marked fold or a card that is already folded. Make it harder by adding a paper pocket or positioning a small collage border. Separate the writing demand from the craft demand: offer to write a dictated message if the child has already worked hard on folding and decorating.
Build, copy, and change a small structure
Use age-appropriate construction pieces to make a simple bridge or shelter. Invite the child to copy it, then change one feature so a toy can fit underneath. Present only a manageable number of pieces. One hand can steady the base while the other attaches or positions a piece.
For an easier version, build side by side and show each step. For a harder version, offer a picture of a finished model and let the child decide the sequence. If connections require too much force, choose a different construction system. Difficulty opening a tight connection is not automatically a reason to increase strengthening activities.
Draw routes, then use short writing tasks
Draw broad roads between a house, park, and shop. Invite the child to guide a crayon along a chosen route while the other hand steadies the page. Wide paths allow experimentation; narrower paths add precision when the child is comfortable. For another option, select a short section from our tracing lines worksheets rather than requiring a whole sheet.
Move from routes to meaningful marks, such as a name on a card or a label on a model. Our guide to teaching a child to write their name offers a focused next activity. Let the child choose the hand that feels useful; do not force a switch or repeatedly reposition every finger while they work.
Ages 7–10: use precision for useful projects
Design a paper construction
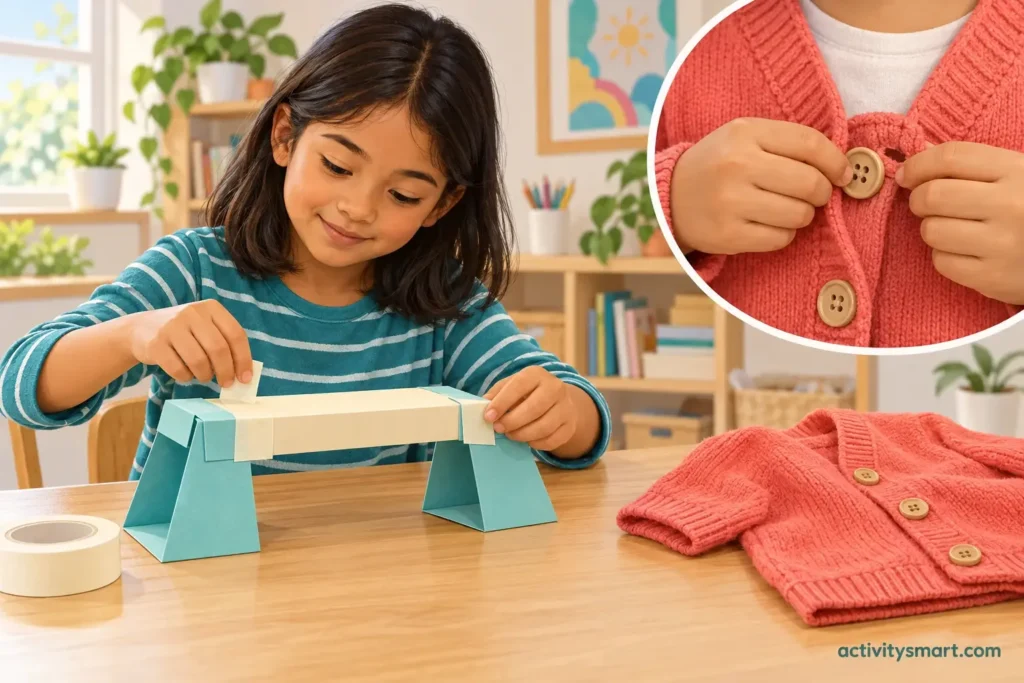
Invite the child to create a freestanding paper animal, mini room, or bridge using paper, tape, and scissors. Begin with a sketch or a verbal plan. Show one joining method, such as a folded tab, and let the child decide where to use it. The project combines planning with folding, cutting, and careful positioning.
Reduce difficulty by preparing some pieces or offering a simple model. Increase it by asking the child to make a stronger base or a door that opens. If the structure collapses, discuss the connection rather than calling the child’s hands clumsy. A redesign is a useful part of making, and the finished object need not look professional.
Practice fasteners outside the morning rush
Place an unworn cardigan, zippered pouch, or practice shoe on a table. Demonstrate one small action: holding the fabric near a buttonhole, seating a zipper, or making the first crossing in a lace. Practice the difficult step separately before expecting the whole sequence while getting dressed.
Offer larger fasteners or contrasting laces for an easier start. Add challenge by using the actual item in a calm setting. Keep accessible clothing options available for daily use. Independence includes choosing equipment that works; it does not require mastering every fastening method before a child can participate in school or play.
Make a game or illustrated instruction card
Older children may enjoy drawing a board game, folding a small booklet, or making instructions for a younger sibling’s construction. They can rule lines, place large markers, and add readable symbols. Offer thicker pens or larger writing spaces if those make the work comfortable.
Let content lead the task. A child interested in space might draw a route between planets; another might design a football score card. Avoid presenting preschool-looking materials as the only way to practice. Familiar dough or blocks remain useful options when framed as sculpting a character or engineering a model.
A flexible ten-minute routine
Ten minutes is a planning example, not a recommended clinical dose. Shorten the routine if the child tires, or leave materials available longer when they are happily engaged. Use it a few times in the week if it fits your setting; everyday dressing, meals, and play can supply other opportunities.
- Choose and prepare: spend about a minute offering two options and setting up the surface.
- Start comfortably: spend a couple of minutes on a familiar action, such as rolling dough or connecting large blocks.
- Try one new step: use several minutes for a meaningful challenge with demonstration available.
- Finish and notice: save the creation, put supplies away, and name one useful strategy the child used.
For example, Monday might be a paper garden, Wednesday a card, and Friday a construction task. Repeat favorites rather than continually buying supplies. In a classroom, place a small selection on a tray, show the routine to a group, and allow different versions of the same project. Keep access to materials and adult support fair without requiring identical finished work.
Adapt the task and notice useful progress
If a child avoids sticky textures, offer a glue stick, tool, or dry construction alternative. If instructions are difficult to follow, model one action at a time and leave a finished example nearby. If a page moves, try a nonslip mat or secure its corners. These changes remove barriers; they do not need to wait for a diagnosis.
For coloring, choose a picture the child actually likes and invite them to work on one area. Our bold-outline owl coloring page is one possible starting point. Add a background, patterns, or a story if the child wants more complexity. Staying inside every line should not become the price of enjoying art.
Record observations about participation rather than scores: “Opened the lunch box after one demonstration,” or “Held the paper while cutting three pieces.” Compare the child with their own earlier attempts in similar conditions. A different tool or a tiring day can change performance, so one difficult session tells you little on its own.
Common mistakes and when to seek support
Avoid treating hand play as a cure for every writing difficulty. Writing also involves language, letter knowledge, attention, and instruction. Do not keep increasing resistance, shrinking materials, or extending practice when a child is uncomfortable. Stop painful tasks and discuss recurring pain, fatigue, or difficulty with an appropriate professional.
Other unhelpful habits include finishing the project for the child, correcting the appearance before noticing the strategy, and turning activities into timed competitions. Offer specific feedback: “You held the card still while you pulled the lace through.” If the child says the work is too hard, simplify one step and ask whether they want help, a different tool, or a break.
The CDC’s five-year milestone guidance includes examples such as buttoning some buttons and explains that its checklists do not replace validated developmental screening. This article’s activity bands are not CDC milestone lists. If you have persistent concerns about everyday hand use, talk with the child’s pediatrician or another qualified healthcare professional; an occupational therapist may help assess functional needs. Loss of a previously acquired skill warrants prompt professional discussion.
Before the next activity, check: Is the child comfortable? Are materials safe? Is the purpose interesting? Can one step be made easier? Is there a clear place to stop? Those questions create a more useful session than asking whether the child has completed enough repetitions.
Frequently asked questions
What are good fine motor activities for a three-year-old?
Start with soft dough, tearing paper, large blocks, simple puzzles, or supervised sponge squeezing. Offer large, manageable materials and demonstrate one action. Choose by the child’s current abilities and safety needs rather than expecting every three-year-old to do the same task.
How often should children practice?
Offer brief, comfortable opportunities within play and everyday routines. There is no single practice schedule prescribed by this guide. Stop or change the task when the child becomes tired, uncomfortable, or distressed, and follow individualized professional advice when applicable.
Do fine motor activities automatically improve handwriting?
No. Hand play offers practice with movement and tools, but handwriting also requires learning letter forms and using language. Combine enjoyable hand activities with short, appropriate writing instruction when writing is the goal.
Should I correct my child’s pencil grip?
Notice comfort and function before appearance. Offer suitable tools, a stable surface, and relaxed practice without repeatedly moving the child’s fingers. Seek advice from a teacher or qualified professional if writing is persistently painful, tiring, or difficult to read.
Can older children use preschool activities?
Yes. Dough, blocks, and collage can be adapted into sculpting, design, or construction projects for older children. Offer respectful choices and an interesting purpose instead of labeling an activity as baby work.
When should I ask for professional help?
Discuss persistent difficulty with everyday tasks, recurring pain or fatigue, or concerns across settings with the child’s pediatrician or another qualified professional. Seek prompt advice if the child loses a previously acquired skill. This guide cannot diagnose the cause.