Quick Answer
Teach scissor skills for preschoolers through supervised, manageable steps: opening and closing, single snips, connected cuts, straight paths, then curves and shapes. Choose child-sized scissors suited to the cutting hand, keep fingers away from the blades, and let comfort and control guide progress rather than a fixed age deadline.
Quick Picks
- First cutting task: one snip across a narrow strip of lightweight card.
- First instruction: demonstrate slowly, then offer one short cue.
- First adjustment: shorten the task before asking for greater accuracy.
- Best next challenge: the smallest change the child can manage comfortably.
- Nonnegotiable: an attentive adult stays beside the cutting activity.
Cutting a circle asks much more of a beginner than squeezing a handle. One hand works the scissors while the other supports and redirects the material. This guide helps parents and teachers separate those demands, choose an achievable starting point, and respond when practice becomes frustrating.
What scissor skills for preschoolers involve
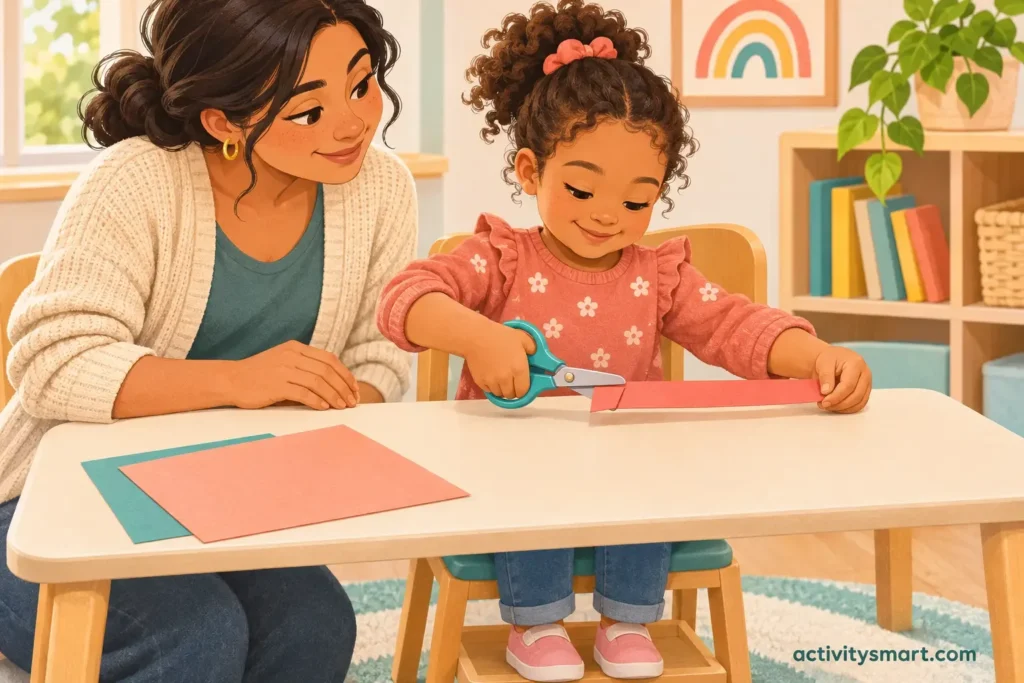
Scissor use combines positioning, hand control, coordination between both hands, and planning the next movement. Betsi Cadwaladr University Health Board’s scissor guidance emphasizes individual variation and recommends adapting equipment and tasks when children need support. A neat finished shape does not reveal which part was difficult.
Watch the process before choosing an activity. Does the child open the blades independently? Can they keep the paper steady? Do they lose the path when it turns? Those observations lead to a more useful next step than deciding that the child simply needs more worksheets.
Practice provides opportunities to use these skills; it does not guarantee better handwriting, academic achievement, or a particular developmental outcome. Our fine motor activities guide offers other ways to explore hand use when cutting is only one part of the picture.
Readiness is more useful than a birthday deadline
For a preschooler around ages three to five, begin by checking whether a closely supervised, seated trial is manageable. The child needs to tolerate the setup and respond when asked to stop. If they repeatedly wave the scissors, reach toward the blades, or leave the chair holding them, put the tool away and choose another activity.
That decision concerns today’s safe participation, not a diagnosis or prediction. Interest, previous opportunities, equipment, and the task itself all affect what you see. An older beginner may need single snips, while another child may already manage simple outlines.
Set up safety before offering scissors
Use a stable table with enough clear space for both hands and the paper. Choose a chair that lets the child sit comfortably; provide stable foot support if needed. Keep the cutting area separate from a busy walkway so another child cannot suddenly bump an elbow.
The NHS Greater Glasgow and Clyde school transition guidance recommends seated cutting, supervision, safe storage, and explicit rules about permitted materials. Rounded tips reduce one hazard, but scissors still have cutting edges and require adult attention.
- Offer only the paper or card selected for this session.
- Keep hair, clothing, skin, cords, and other people outside the cutting path.
- Teach a clear stop cue: close the scissors and place them on the table.
- Let the adult handle carrying and passing scissors during beginner practice.
- Collect scraps promptly and keep them away from younger children who mouth objects.
- Store scissors securely out of children’s reach afterward.
Stay close enough to intervene, with your attention on the child rather than a phone or another task. In a classroom, the group size must fit the supervision adults can actually provide. Independent access to a craft shelf is a separate decision from participating in an adult-led cutting session.
Choose materials conservatively
Plain paper and lightweight card are enough for the progression here. Avoid hard packaging, wire, staples, elastic bands, thick folded stacks, and unfamiliar materials that require force or create sharp fragments. Do not add beads or chopped straws merely to make the activity more decorative.
If the child mouths scraps, stop the cutting activity and clear the area. Supervision cannot make every material suitable for every child. Tearing large paper pieces with an adult can be a more workable alternative, provided the same attention is given to mouthing and cleanup.
Choose scissors that match the child and task
Look for child-sized scissors with short, rounded blades that actually cut the selected material. Test them yourself before handing them over. Paper that folds between the blades can reflect a tool problem; telling a child to squeeze harder may simply repeat the frustration.
For a child choosing the left hand, provide genuine left-handed scissors. Handle color or a label saying “comfortable grip” does not establish blade orientation. Do not require a child to switch to the right hand to fit the available classroom equipment.
| Tool | Possible use | Limitation to check |
|---|---|---|
| Standard child-sized scissors | Opening, closing, and connected cutting | Loops and opening distance must fit comfortably |
| Left-handed scissors | Cutting with the left hand | Confirm genuine left-handed blade arrangement |
| Self-opening scissors | Reducing the demand of reopening the blades | Adult still checks control and safe release |
| Long-loop scissors | Providing more room for the fingers | A larger loop is not automatically a better fit |
Bedfordshire and Luton’s guidance on supported scissor use describes these adaptations. An easier tool can make participation possible, but it does not remove the need to teach paper control or safe use. Ask an occupational therapist about fitting equipment when ordinary options remain difficult.
Show the grip and the helping hand
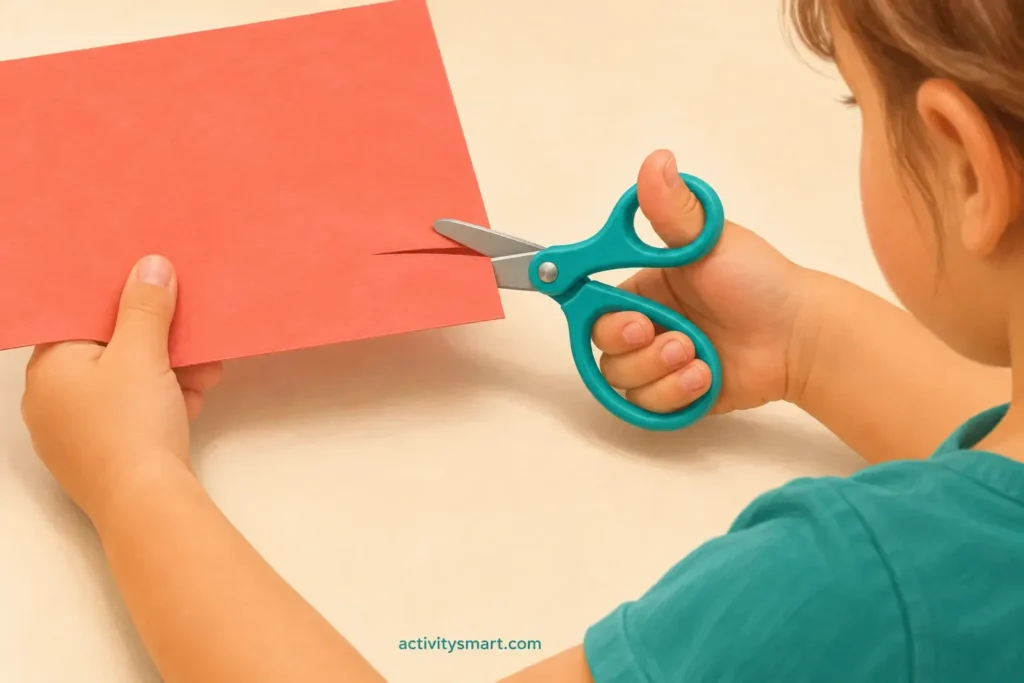
Demonstrate with your own scissors and a separate piece of paper. Show the thumb in the upper loop and fingers comfortably supported below, according to the handle design. Keep the wrist comfortable and avoid forcing the child’s fingers into a position the tool does not accommodate.
Call the other hand the “helping hand.” It holds the paper with the thumb above and fingers below, away from the blade path. Demonstrate changing its position while the scissors are paused. Never invite the child to reach across moving blades to rescue slipping paper.
Use a brief cue such as “thumb up” or “pause and move the paper.” Give the child time to respond before adding another instruction. If you need to adjust the setup, ask them to place the scissors down first rather than unexpectedly moving their hand during a cut.
Avoid making grip correction the whole lesson
A comfortable, functional grip matters more than copying an adult photograph perfectly. Watch for pinching, awkward twisting, or effort that makes the task unpleasant. Check the loop size and handedness before repeatedly correcting the child.
The same observation-first approach is useful in our guide to pencil grip and comfortable hand control. Scissors and pencils are different tools, however: success with one does not establish readiness or difficulty with the other.
Move from single snips to connected cuts
Begin with one successful closure
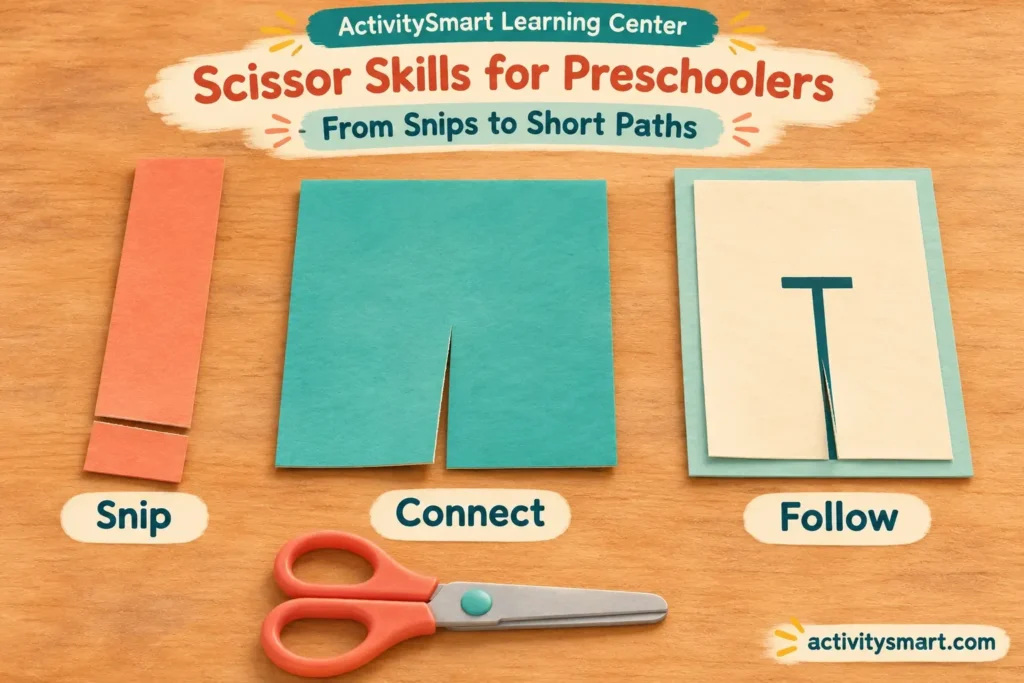
Prepare a narrow strip of lightweight card that the child’s scissors can cut across in one closure. Leave enough length for the helping hand to hold it well away from the blades. The first aim is to separate one piece, not follow a printed line.
Demonstrate, offer a turn, and stop to notice what happened. “You opened them again” gives useful information when reopening was the challenge. If the strip bends or twists, change the material or tool before assuming the child needs a harder squeeze.
Purdue’s ELM early snipping activity distinguishes exploring opening and closing from cutting across a page or making a shape. That distinction is useful for beginners of different ages: a simple snip is a valid starting task.
Give snips a purpose without adding precision
Invite the child to make paper pieces for a collage, or snip a fringe along an adult-prepared rectangle. Use broad spacing so neighboring cuts do not demand delicate control. The adult can glue the pieces later if combining cutting and assembling becomes too much.
Let the child choose between two paper colors while keeping the cutting demand unchanged. Choice can belong to the project without becoming a choice between an easy task and an overwhelming outline. Save the more complex design for another session.
Connect two or more cuts
Next, offer a slightly wider strip that needs several closures. Show how to reopen, move forward, and close again while keeping the paper supported. A short, unmarked strip lets the child explore that rhythm before also tracking a line.
If every closure begins a new cut at the edge, demonstrate returning to the existing opening. If the paper is torn away after each squeeze, shorten the distance and slow the demonstration. Change one demand at a time so you can see which adjustment helps.
Add straight paths, stops, and gentle curves
Start with a short, broad route
Draw a thick straight path across a small piece of paper or card, with a clear starting edge. Leave open space around it. A page crowded with pictures can make it harder to identify where the cut belongs, even when the child can manage the scissors.
Ask the child to travel along the route, allowing uneven edges. When this becomes comfortable, lengthen the route or make it narrower; avoid changing both together. Our tracing lines collection can provide ideas for simple path patterns, but tracing and cutting remain distinct activities.
Teach stopping as a separate action
Draw a short path that ends before the far edge, with a large visible stop mark. Explain that the aim is to pause there, then set the scissors down. A child who cuts past it may need a shorter route or a clearer demonstration, not a longer worksheet.
Try a pretend paper parking space: the cut travels toward a broad marked area and stops before the back boundary. This is a suggested play variation, not a standardized assessment. Adjust the spacing to the child’s current control.
Introduce one easy bend
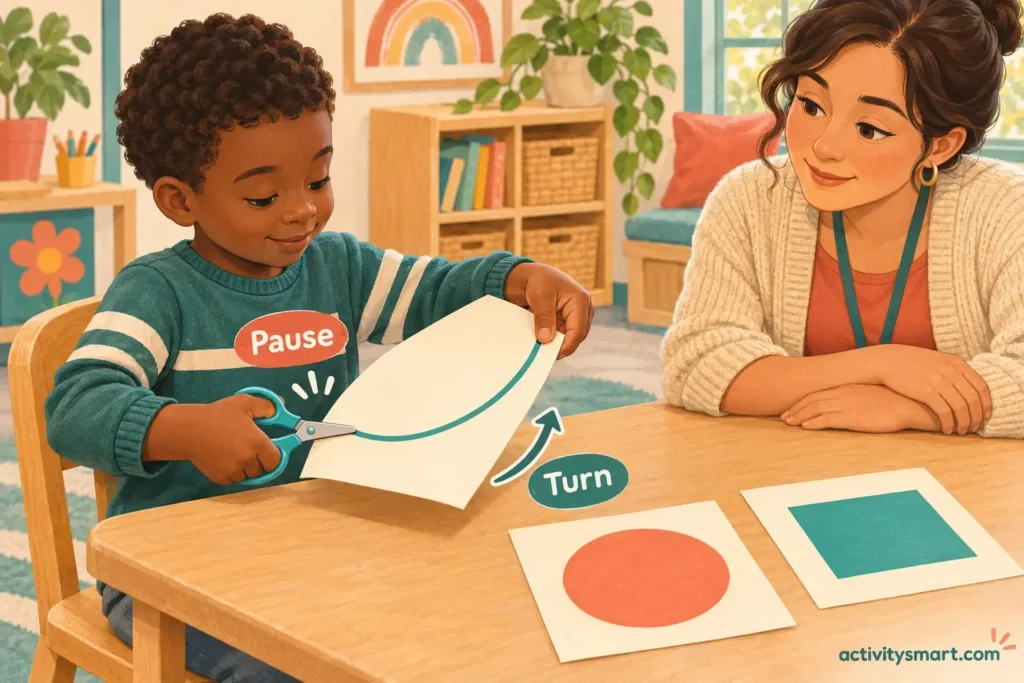
Use a wide, gentle curve before a tight wave. Demonstrate pausing the scissors while the helping hand turns the paper. Avoid asking the cutting wrist to twist around every bend; allow space for the paper to move.
Bedfordshire and Luton’s step-by-step scissor guidance explains why curves introduce more coordination demands. If the child can manage a straight route but loses the curve, return to a wider bend rather than treating the earlier success as lost.
Approach shapes through turns, not perfection
A shape combines sustained cutting with changes of direction and managing the surrounding paper. Introduce a large, uncluttered outline only when shorter paths feel manageable. A circle has continuous turning; a square asks for distinct pauses and corners. Neither should become a compulsory age test.
For a square, show one side and a pause at the corner before turning the paper. For a circle, demonstrate small changes in paper direction. Make the outline large enough to see, but keep the sheet itself manageable rather than handing over an oversized poster.
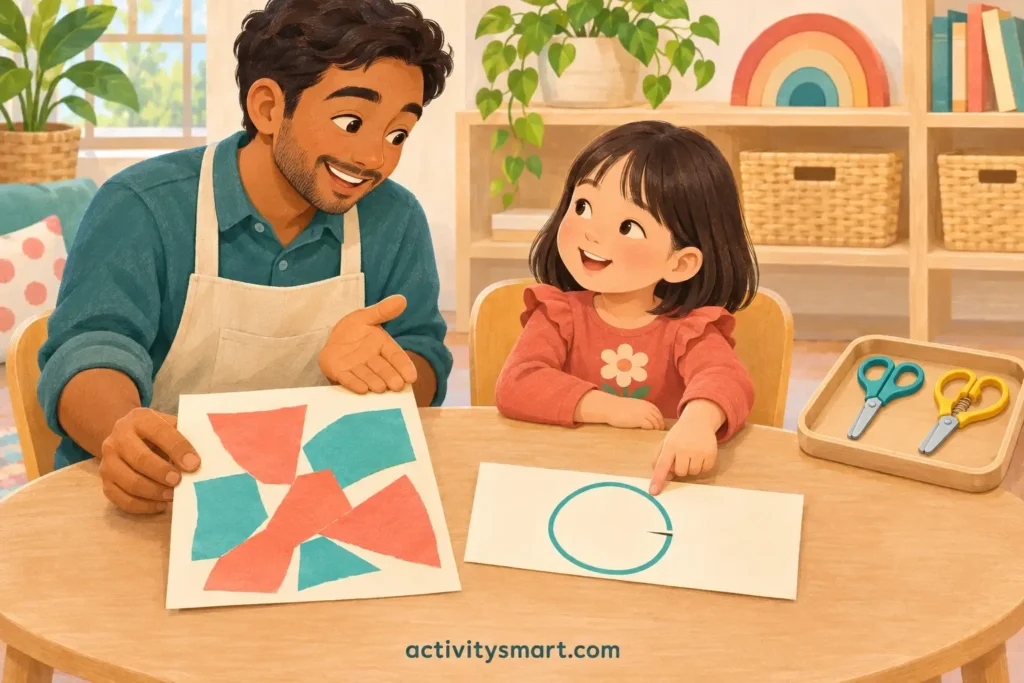
An adult can trim away excess outer paper before the child begins. Explain that this preparation makes the task easier; it is not evidence the child independently cut the complete page. Avoid secretly repairing the finished shape and then presenting it as the child’s work.
For a project, use a large oval as a pond or a rounded shape as a cloud. Once the child wants a themed picture, the butterfly above flowers coloring page can inspire a collage background. Its small decorative details do not need to become cutting targets.
Plan a short session around one learning aim
Set out one tool, one material, and a small amount of paper. For example, today’s aim might be reopening the blades or pausing before moving the helping hand. The project is a reason to practice, while the observation tells you what to offer next.
Try this flexible routine: demonstrate once, invite a few attempts, pause to inspect the result together, and let the child choose whether to repeat or finish. This is an organizing suggestion, not an evidence-based dosage. Stop sooner when attention, comfort, or safety changes.
In a mixed-ability group, offer different versions of the same project: snipped collage pieces, short strips, or a large outline. Display contributions together without ranking them by neatness. This preserves a shared purpose while avoiding identical motor demands.
Record useful observations rather than scores
Write a brief note such as “opened independently; needed paper supported” or “turned the paper after one reminder.” Include the tool and material used. Comparing those details across sessions is more informative than comparing two finished pictures made under different conditions.
Share one helpful cue between home and school so the child does not receive conflicting instructions. If cutting is part of a name collage, our name-writing guide offers a separate learning pathway; cutting letter shapes is unnecessary for practicing name recognition or writing.
Troubleshoot without increasing pressure
- Paper folds instead of cutting: test the scissors and material, and check handedness.
- Scissors will not reopen: reduce the task and consider an appropriate self-opening design.
- The helping hand drops the paper: use a smaller piece and rehearse holding it before cutting.
- The wrist twists at curves: pause, reposition the paper, and offer a wider bend.
- The child rushes: demonstrate one slow cut, shorten the route, and remove competitive timing.
- Frustration grows: put the tool down, acknowledge the difficulty, and offer a break or simpler activity.
A common mistake is combining a new tool, unfamiliar material, long outline, and assembly instructions in one task. Another is finishing every cut for the child. Offer assistance openly, then leave a manageable action for the child if they want to continue.
Do not physically force the scissors through resistance or hold a protesting child’s hand in position. If pain occurs, stop. Persistent difficulties affecting participation, self-care, or several hand activities merit discussion with the child’s teacher and a pediatric healthcare professional or occupational therapist. Seek advice promptly about loss of previously established skills.
Final verdict: choose the next manageable movement
Useful practice makes the cutting action understandable and safe. Start where the child can participate, keep the equipment comfortable, and add a single new demand when the current task becomes easier. A small independent snip can be a more meaningful success than a complicated shape mostly completed by an adult.
Frequently Asked Questions
When should preschoolers start using scissors?
Preschoolers can try scissors when they can participate in a closely supervised, seated activity and respond to a stop instruction. Readiness and previous experience vary, so begin with a manageable trial rather than a birthday deadline. Put the tool away if safe participation is not possible today.
What is the easiest first cutting activity?
A single snip across a narrow strip of lightweight card is a useful first cutting activity. Test that the scissors cut it easily, leave plenty of holding space, and supervise beside the child. Following a line or making a shape can wait.
How should a preschooler hold scissors?
A preschooler should generally hold scissors with the thumb in the upper loop and fingers comfortably supported in the lower loop. The exact finger arrangement depends on the handle design. Keep the wrist comfortable and check tool fit rather than forcing a rigid position.
Does a left-handed child need left-handed scissors?
A child cutting with the left hand should be offered genuine left-handed scissors. The blade arrangement matters, not just the handle shape. Do not make the child switch hands to accommodate the scissors available; check equipment before interpreting awkward cutting as a skill problem.
Are rounded-tip scissors safe without adult supervision?
No, rounded-tip scissors still require adult supervision because their blades can cut and other hazards remain. Keep practice seated, teach what may be cut, and store the tool out of reach afterward. Stop the activity if you cannot give it your attention.
Should children learn straight lines before shapes?
Short straight paths are generally a useful step before curves and complete shapes because they reduce turning demands. Choose the next task by observing control and comfort, rather than requiring every child to follow an identical schedule. Large simple outlines come before intricate details.
Why does my child’s paper fold between the blades?
Paper can fold between the blades when the scissors, material, or hand position are not working well together. Test the tool yourself, check handedness, and try a manageable piece of lightweight card. Repeatedly telling the child to squeeze harder does not address those possibilities.
How long should a scissor practice session last?
A scissor practice session should last only while the child remains comfortable, attentive, and able to participate safely. There is no universal number of minutes required here. A few purposeful attempts can be enough, and finishing early is reasonable when fatigue or frustration appears.
When should I ask for help with cutting difficulties?
Ask a pediatric healthcare professional or occupational therapist for advice when cutting difficulties persist despite adjustments or affect participation alongside other everyday hand tasks. Stop for pain, and seek prompt advice about lost skills. A cutting worksheet alone cannot diagnose a developmental condition.
Sources and further reading
The linked NHS occupational therapy resources support equipment choices, supervision, graded cutting, and adaptation. Purdue ELM provides an early-learning example of snipping. These are practical guidance resources, not proof that a particular practice schedule guarantees developmental gains. The project ideas above are suggested applications, not tested interventions.