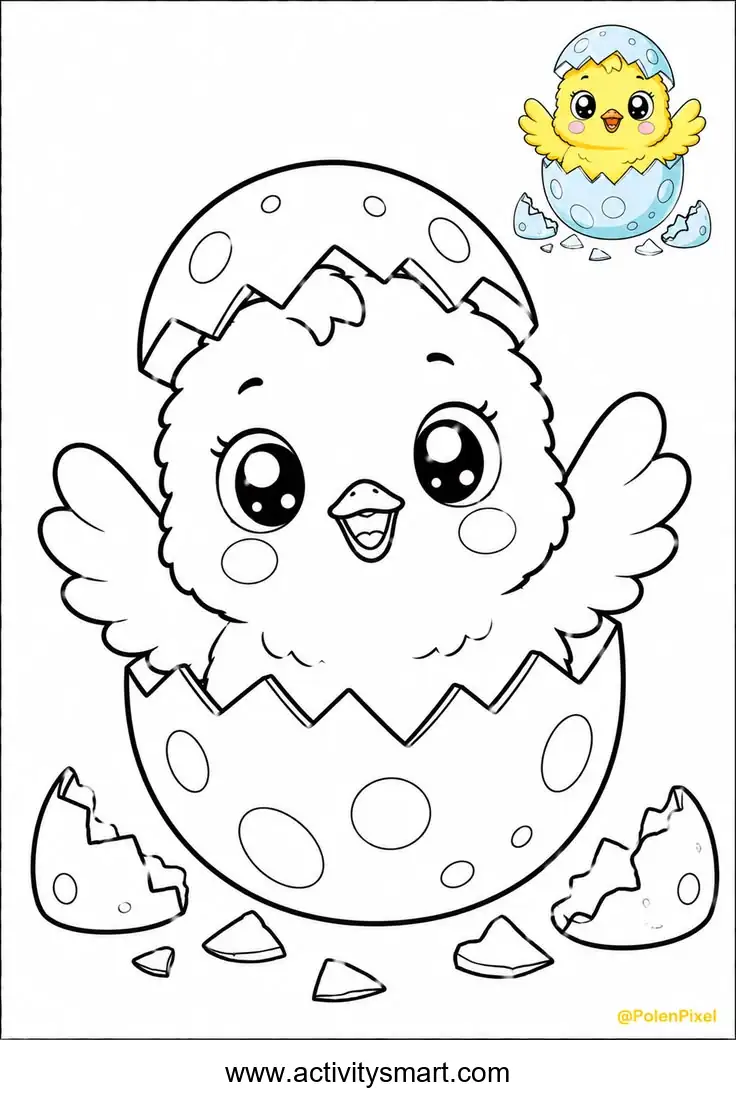
A little chick peeks out of its shell
This chick hatching from an egg coloring page shows a cheerful chick spreading its wings inside a cracked, spotted eggshell. Open the original image, print it, and choose colors for the chick and the shell pieces.
More Coloring Pages
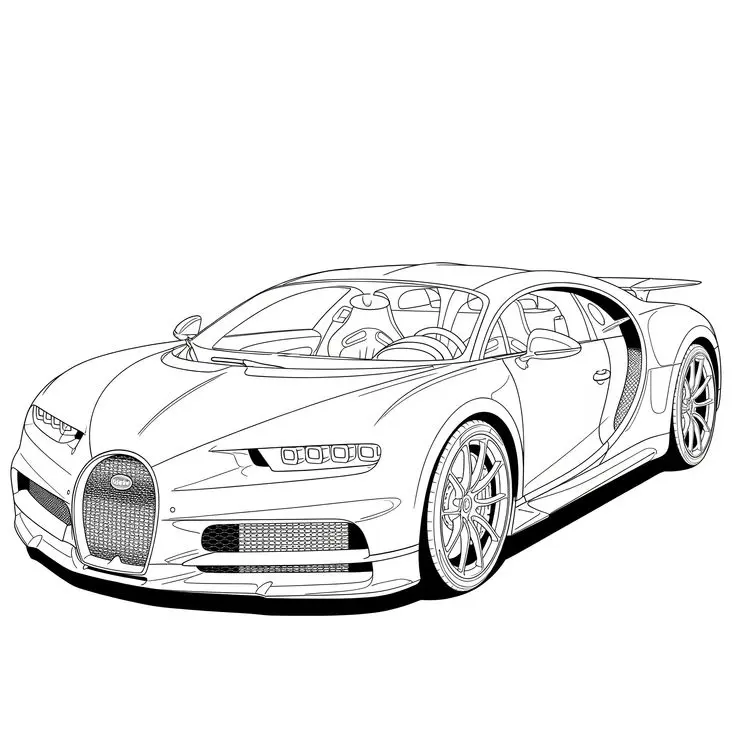
Bugatti Sports Car Coloring Page
Explore a detailed Bugatti sports car coloring page featuring a horseshoe grille, intricate wheels, visible cabin details, and…
View printable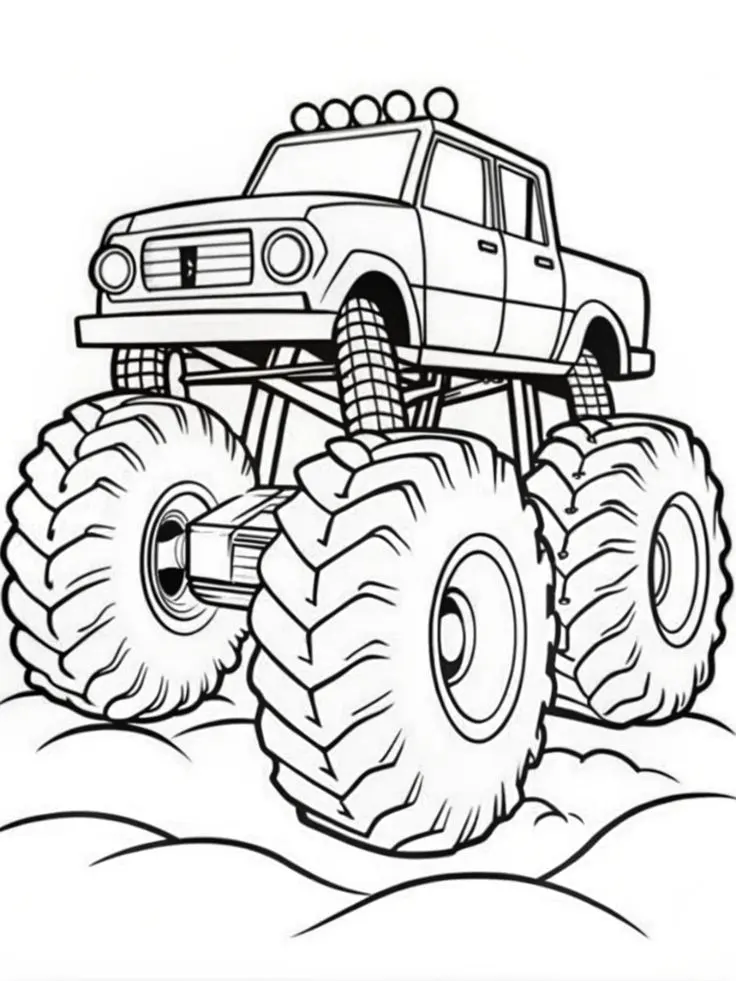
Monster Pickup Truck on Bumpy Ground Coloring Page
Color a towering monster pickup truck with giant treaded tires, exposed suspension, five roof lights, and rounded bumps…
View printable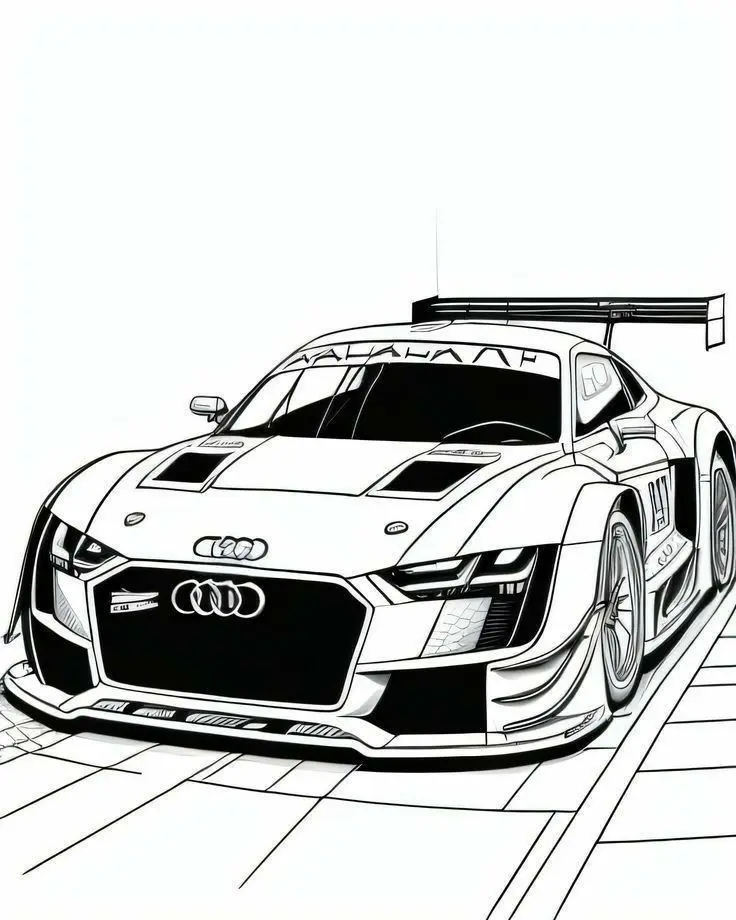
Audi Race Car with Rear Wing Coloring Page
Bring an Audi race car illustration to life with color. Explore its large rear wing, broad front grille,…
View printable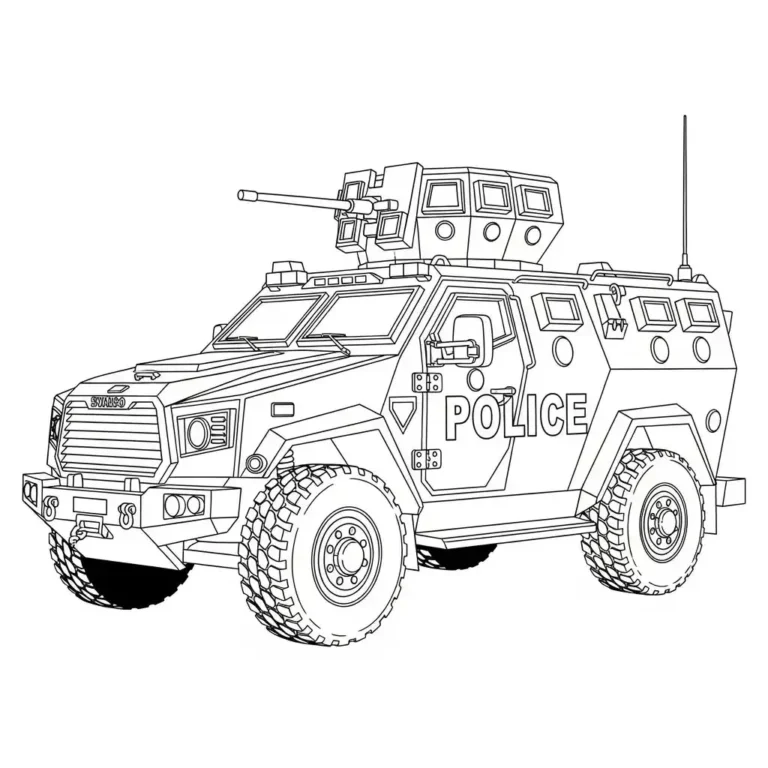
Armored Police Truck Coloring Page
Color a detailed armored police truck with large treaded tires, reinforced windows, a roof-mounted turret, and bold POLICE…
View printable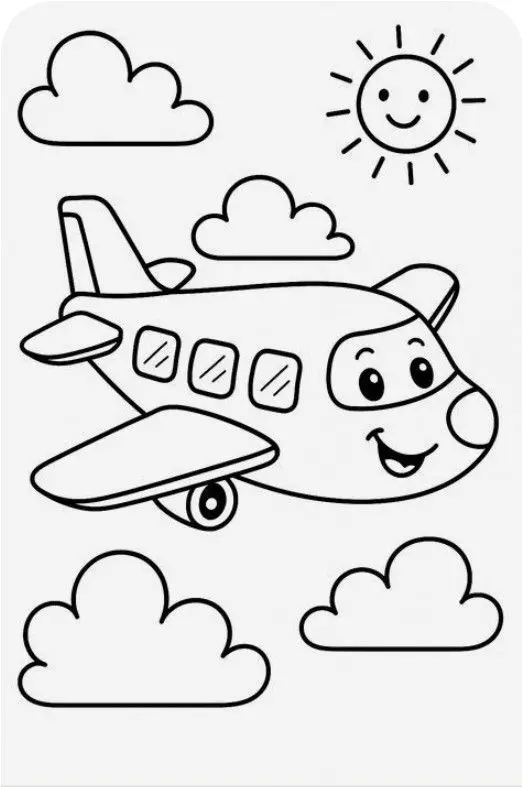
Smiling Airplane with Clouds and Sun Coloring Page
Color a cheerful cartoon airplane flying among four fluffy clouds beneath a smiling sun. Bold outlines and spacious…
View printable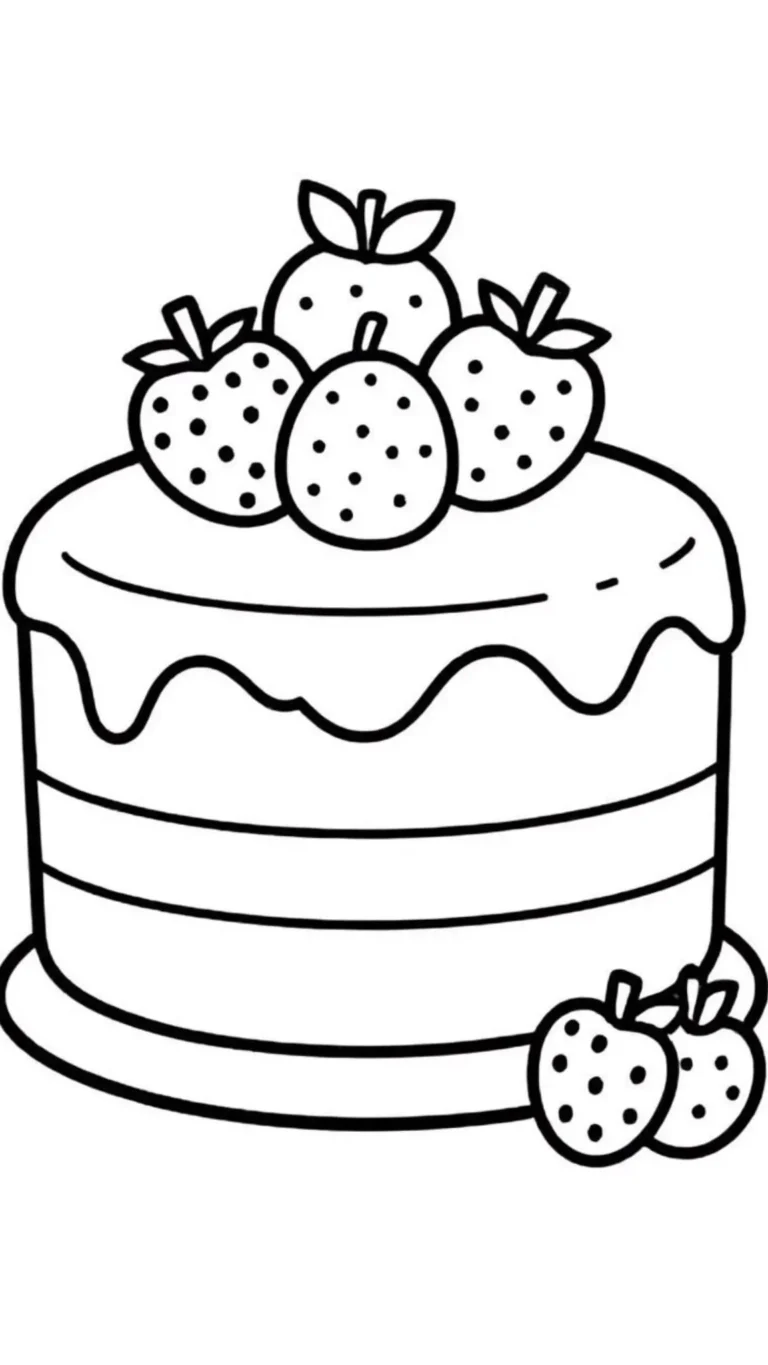
Strawberry Layer Cake Coloring Page
Decorate a strawberry layer cake with your own colors. Thick outlines define the dripping icing, horizontal layers, berry…
View printable
Cute Kitten in a Donut Coloring Page
Color a wide-eyed kitten sitting inside a large iced donut. Sprinkles, tiny paw pads, whiskers, and floating hearts…
View printable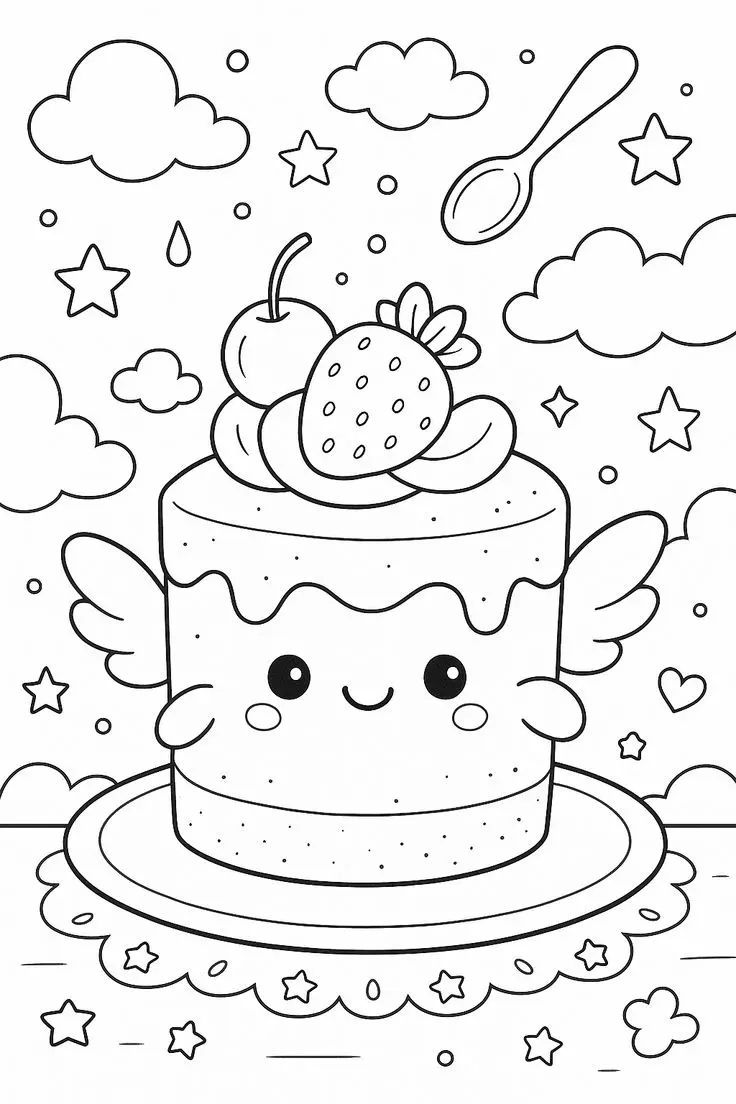
Winged Strawberry Cake Coloring Page
Explore a whimsical cake coloring page with little wings, a smiling face, strawberry and cherry toppings, floating clouds,…
View printableWhat is on this chick hatching from an egg coloring page?
A round chick looks forward with large eyes, an open beak and raised wings. It sits inside the lower part of a cracked eggshell, while another piece of shell rests on top of its head. The jagged edges show where the shell has broken, and several smaller pieces lie around the bottom of the picture.
Look closely at the shell before choosing colors. Rounded spots of different sizes decorate both the upper and lower sections. The chick has small outlined cheek circles, a tuft on its head and short curved marks around its body. A small colored example appears in the upper corner of the original image; children can follow it or make entirely different choices.
Begin with whichever detail catches your child’s attention. They might color the beak first, fill the large shell area or work on a single wing. There is no need to finish the whole drawing in one sitting. A partially colored chick can be set aside and revisited whenever the child wants to continue.
Four ideas for coloring and exploring the picture
1. Give the chick a color of its own
The small example uses yellow for the chick, but the large drawing leaves the choice open. Try a pale yellow body with a deeper shade on the wings, or choose an imaginative blue, purple or orange chick. Light strokes help the black outlines and little curved feather marks remain visible.
Choose a separate color for the beak and decide whether the cheek circles should be pink, peach or another favorite shade. The eyes already contain dark areas and small white highlights. Your child can leave those highlights uncolored while working around the eyes with a pencil or crayon.
2. Make a spotted shell design
The rounded spots offer a ready-made pattern. Color them all one shade for a simple design, alternate between two colors, or give each spot a different color. Then choose a lighter shade for the surrounding shell so the shapes remain easy to distinguish.
Compare the shell on the chick’s head with the larger section around its body. Your child might give both sections matching colors, as though they belonged together before cracking. Another option is to leave the spots white and color only the spaces around them. Either approach preserves the existing pattern while producing a different result.
3. Find shapes and compare the broken pieces
Follow the zigzag edge above the chick’s head with a finger, then find the jagged edge around its body. Look at the loose pieces near the bottom and compare their shapes with those larger shell sections. Which piece looks widest? Which one has a pointed corner? These questions describe the drawing rather than asking children to identify real eggshell fragments.
For a simple counting activity, point to the visible loose pieces one at a time and let your child decide where to begin and stop. Then count the spots on a chosen shell section, checking the picture together. There is no need to count every detail; finding a few shapes and returning to coloring is enough.
4. Tell a hatching story
Imagine what the chick might say after peeking out. Is it greeting someone, wondering where it is, or calling out with excitement? These are invented story ideas inspired by the picture. Your child can give the chick a name and describe what might happen after the moment shown.
Write a short caption on a separate sheet or invite the child to tell the story aloud. If they want to add a nest, flowers or another character, explain that those are imaginary details they are adding; they are not part of the original scene. Leave the existing website name and source mark visible on the picture.
Start small: choose one color for the chick and one for the shell. Add more colors later if your child wants to, or stop after completing a favorite detail.
How to save and print the chick picture
- Select Download Coloring Image to access the original WebP file. If it opens in your browser, use the browser’s save-image option.
- Select Print Coloring Page for the site’s image-printing tool. If it is unavailable, open the full-size image and print it from your browser.
- Choose A4 or US Letter paper and portrait orientation. Use fit-to-page scaling and preserve the original proportions.
- Check the preview for the entire chick, loose shell pieces, small colored example and source marks before printing.
The original image measures 736 × 1110 pixels. Enlarging it does not add detail and may make the lines look softer. Paper margins vary by printer, so a little white space around the picture is normal. Avoid stretching the image to fill the sheet, since that changes the shape of the chick and shell.
Crayons can cover the larger shell and body areas, while colored pencils offer more control around the beak, spots and jagged edges. If using markers, test them on spare paper and protect the surface underneath. Choose paper that is suitable for your printer and the materials you plan to use.
For another animal picture, explore the farm animals by a barn coloring page, which also includes a chick among its characters. You can also browse the coloring pages collection to choose a different activity.
Questions about this coloring page
What file does Download Coloring Image provide?
It provides the original WebP image measuring 736 × 1110 pixels. The image file is not a PDF.
Can I print the chick picture on A4 or US Letter paper?
Yes. Choose portrait orientation and fit-to-page scaling, then check the preview to keep the complete picture and source marks visible without stretching or cropping.
What details can I color besides the chick?
The picture includes a spotted eggshell around the chick, a shell piece on its head and loose shell pieces below. A small colored example also appears in the upper corner.
Which tools can I use for the shell spots and edges?
Colored pencils offer control around the spots and jagged edges. Crayons can cover larger areas. Test markers on spare paper and protect the surface underneath.