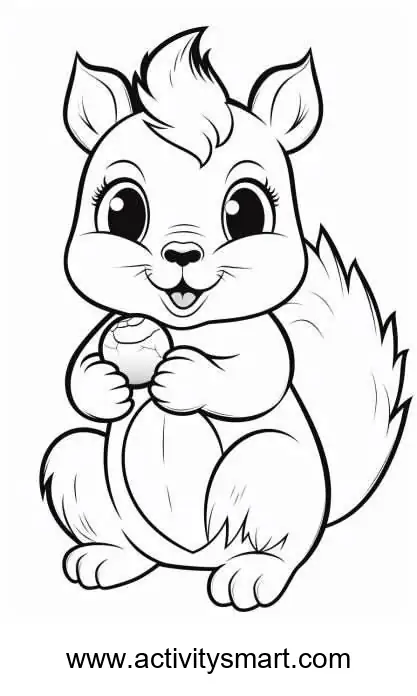
Squirrel Holding a Nut: choose your colors
This squirrel holding a nut coloring page offers the original black-and-white picture to save or print. Explore the details, choose colors and try the activities below at your own pace.
More Coloring Pages
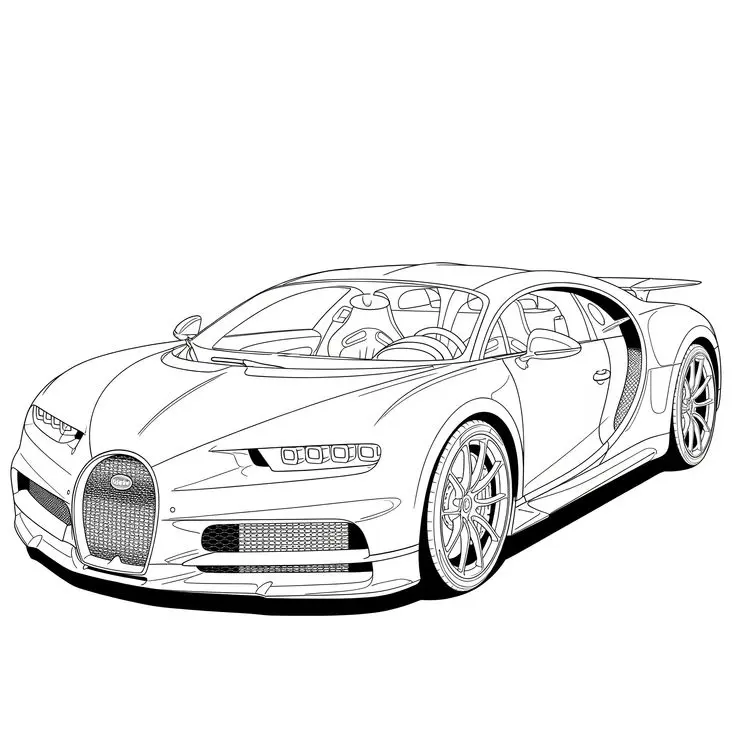
Bugatti Sports Car Coloring Page
Explore a detailed Bugatti sports car coloring page featuring a horseshoe grille, intricate wheels, visible cabin details, and…
View printable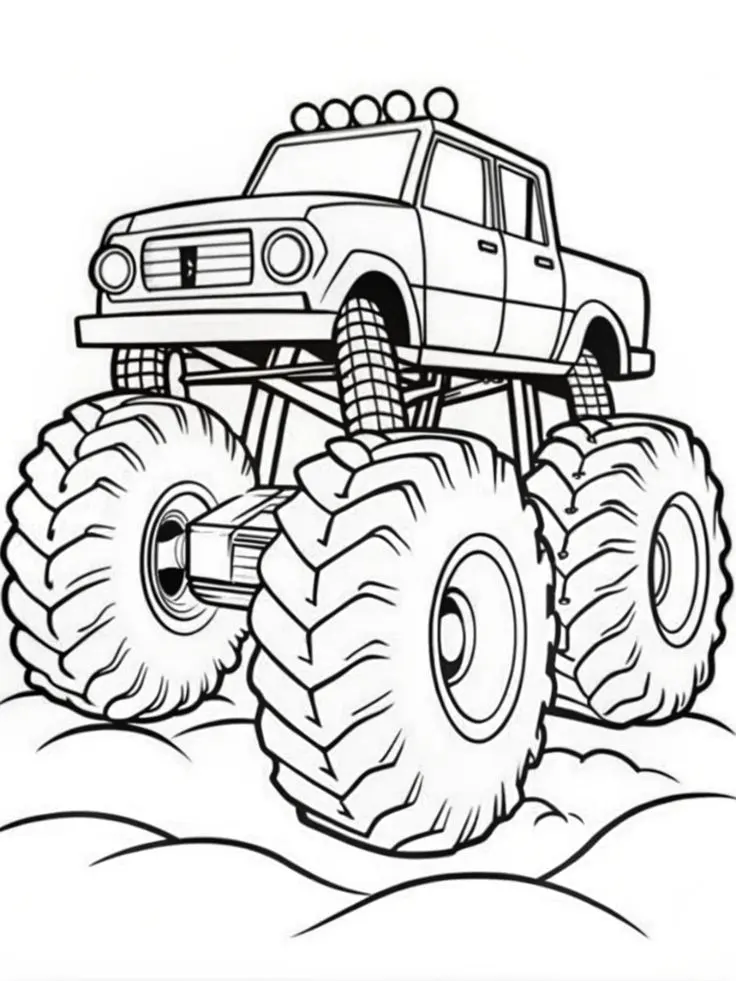
Monster Pickup Truck on Bumpy Ground Coloring Page
Color a towering monster pickup truck with giant treaded tires, exposed suspension, five roof lights, and rounded bumps…
View printable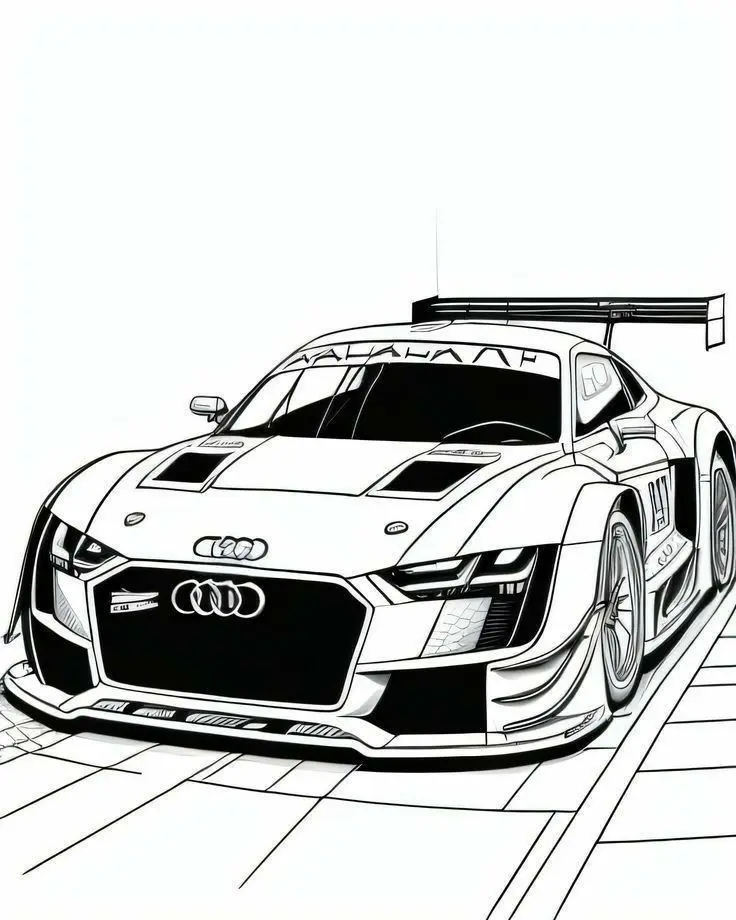
Audi Race Car with Rear Wing Coloring Page
Bring an Audi race car illustration to life with color. Explore its large rear wing, broad front grille,…
View printable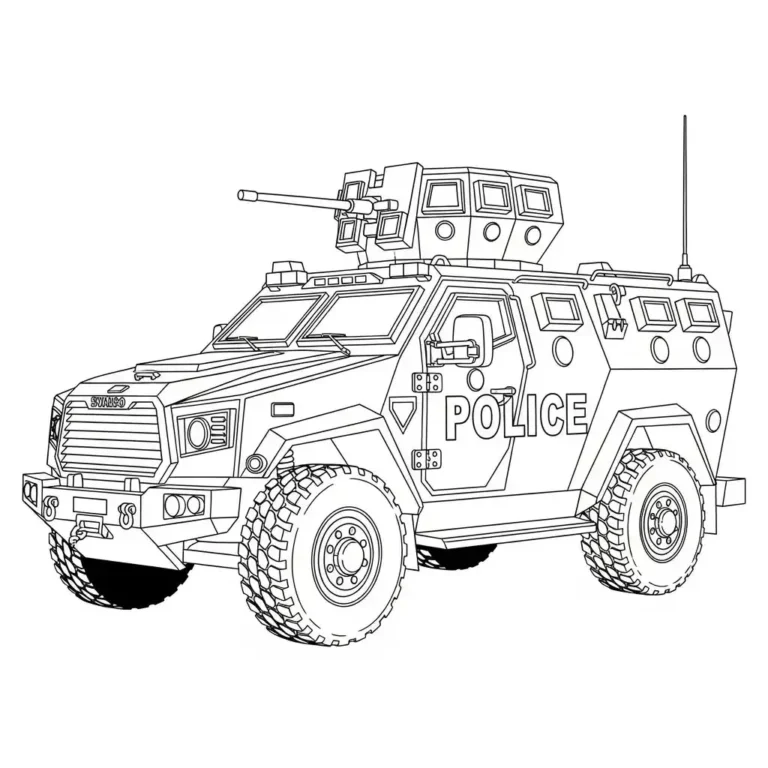
Armored Police Truck Coloring Page
Color a detailed armored police truck with large treaded tires, reinforced windows, a roof-mounted turret, and bold POLICE…
View printable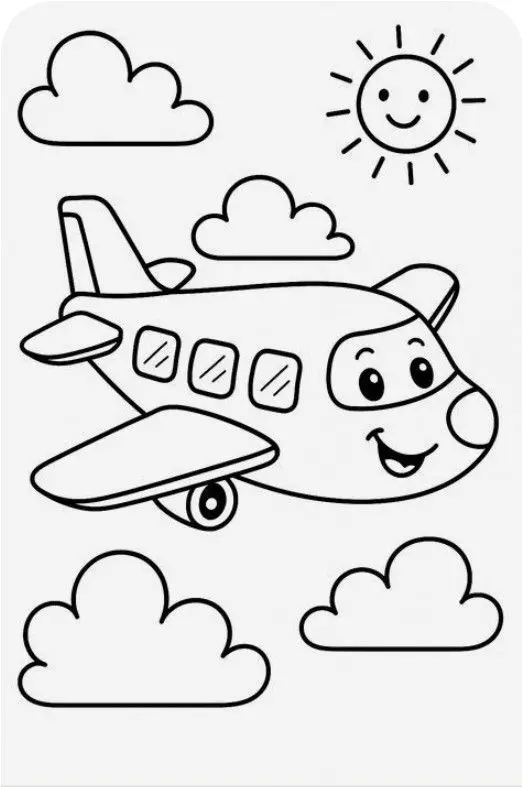
Smiling Airplane with Clouds and Sun Coloring Page
Color a cheerful cartoon airplane flying among four fluffy clouds beneath a smiling sun. Bold outlines and spacious…
View printable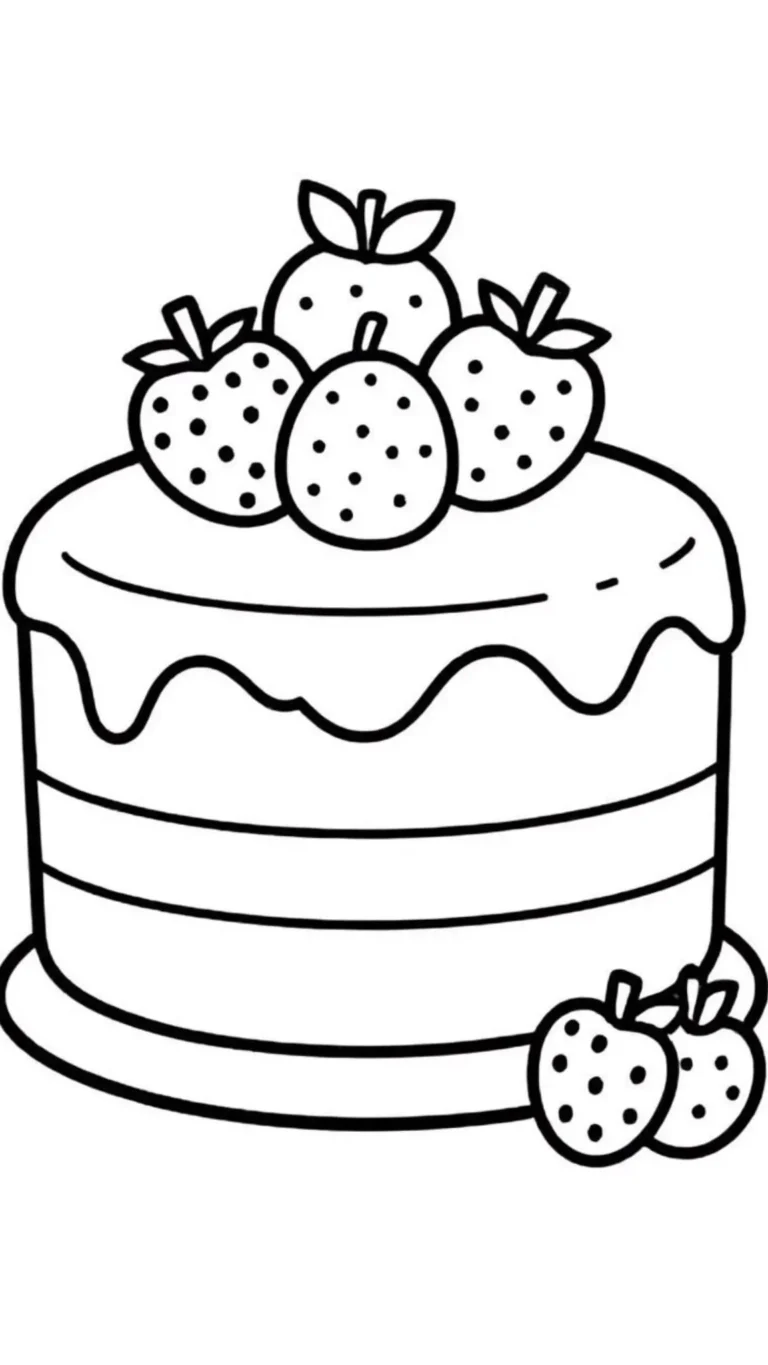
Strawberry Layer Cake Coloring Page
Decorate a strawberry layer cake with your own colors. Thick outlines define the dripping icing, horizontal layers, berry…
View printable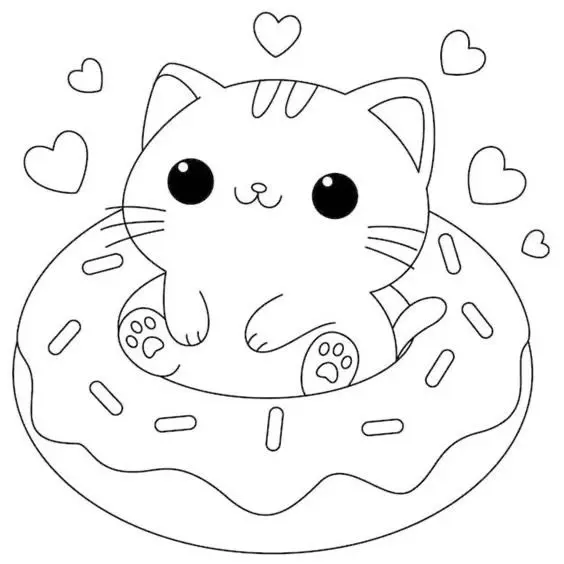
Cute Kitten in a Donut Coloring Page
Color a wide-eyed kitten sitting inside a large iced donut. Sprinkles, tiny paw pads, whiskers, and floating hearts…
View printable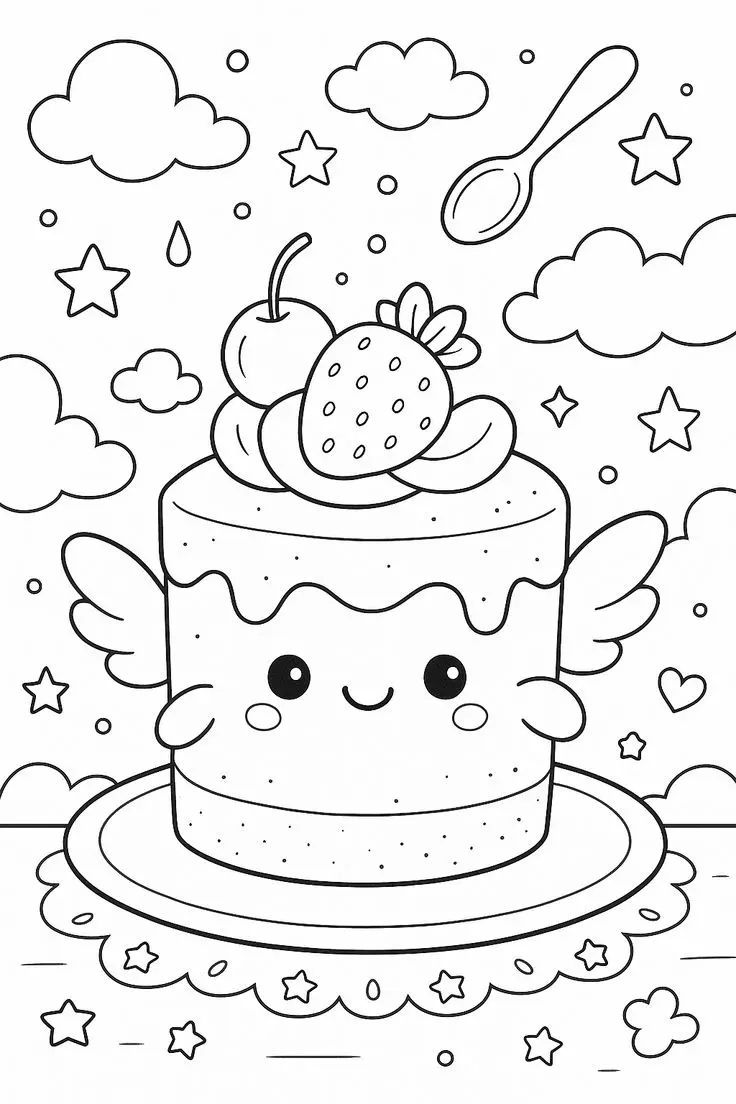
Winged Strawberry Cake Coloring Page
Explore a whimsical cake coloring page with little wings, a smiling face, strawberry and cherry toppings, floating clouds,…
View printableExplore the squirrel holding a nut coloring page
A smiling squirrel holds a small nut between its paws. Its large eyes, pointed ears, tuft of hair and broad bushy tail are visible, with a light outlined belly and feet below. The original site name appears at the bottom of the picture.
Take a moment to look at the entire illustration before choosing a tool. Ask which shape catches your eye first and where you would like to start. The picture can be enjoyed in small stages: there is no need to color every area in one sitting. Leave the printed names and any source markings visible.
Look at how the outlines divide the character into different spaces. Some are broad enough for a crayon, while others need a more careful pencil stroke. A light first layer allows the black drawing to remain visible, and a stronger second layer can be added where a deeper shade is wanted.
Four ideas for this picture
1. Choose a color palette
Try warm brown or orange on the body and a lighter shade on the belly. Give the nut a different brown or a bright imaginary color so it stands apart from the paws. Add curved pencil strokes inside the tail to suggest texture without hiding its outline.
Try the colors on a spare piece of paper before filling the drawing. Place the selected crayons or pencils beside the print and compare light and dark shades. A limited palette can create a coordinated picture, while a larger selection gives each detail its own appearance.
2. Look closely at shapes
Look for the nut and follow the shape of each paw around it. Compare the broad tail with the small ears, then find the curved lines inside the tail. Invite your child to point to their favorite detail before choosing where to begin.
Take turns describing a detail and finding it in the drawing. Use simple clues about its shape or position, and allow the child to answer by pointing. The aim is to spend time with the actual picture, so follow their observations rather than insisting on a particular answer.
3. Tell an imagined story
Make up a story about where the squirrel found its nut or what it will do next. Those details are not shown in the drawing. A child may add an imaginary tree or a pile of leaves on a separate sheet if they want a setting.
Start with a name, then ask what might happen first and what could happen afterward. An adult can write the child’s words on another sheet and keep it next to the colored picture. The story can be a single sentence or a longer conversation, depending on the child’s interest.
4. Experiment with marks
Make a small set of test marks on spare paper: short strokes, gentle shading and tiny dots. Choose one technique for a large outlined area and another for a smaller detail in this illustration. Keep the original contours visible so the drawing remains easy to recognize.
Compare the result with the uncolored image. Is there a place where a lighter color would make the outlines easier to see? Children can stop after one detail, take a break, or return another day. A partly colored page is still a finished activity if that is where they choose to stop.
Save and print the picture
Select Download Coloring Image to access the original WebP file. If your browser displays it instead of saving it, use the browser’s save-image command. The file is an image rather than a PDF, and the full-size link offers another way to open it.
For printing, select portrait orientation and A4 or US Letter paper, then choose fit to page. Review all edges and the source markings in the preview. Keep the proportions unchanged rather than stretching the image to fill the sheet; the amount of white margin depends on the printer and paper.
The original measures 417 × 696 pixels. Enlarging it cannot add detail and may make outlines softer, so a smaller print can be clearer. Print a single test copy to check the scale. Use ordinary printer paper for crayons or pencils, and place a protective sheet underneath if markers might bleed through.
For another character, explore the dinosaur holding a flower or browse the coloring pages collection. Pick a picture that suits your child’s interests and compare its shapes with this one.
Questions about this coloring page
What file does the download provide?
The original is a WebP image measuring 417 × 696 pixels, not a PDF.
How can I print the complete picture?
Choose portrait orientation and fit to page on A4 or US Letter paper. Check the preview and preserve the original proportions.
What if the print button does not work?
Open the full-size image and use the browser’s print option. If it opens instead of downloading, use the browser’s save-image command.
Which coloring tools can I use?
Crayons can cover larger areas, while colored pencils give more control around smaller outlines. Test markers on spare paper first.